
Hey Champs! Social Champ’s Kanban Board gives you a bird’s-eye view of every post in your pipeline, from a rough draft to a published (or failed) post — all sorted into columns by status and by Label.
In this guide, we’ll walk through everything the Kanban Board can do.
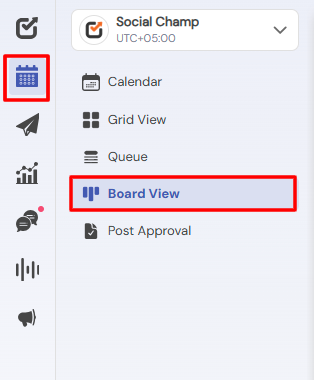
- Navigate to the Calendar and from the left panel, click the Kanban Board icon to open the board view.
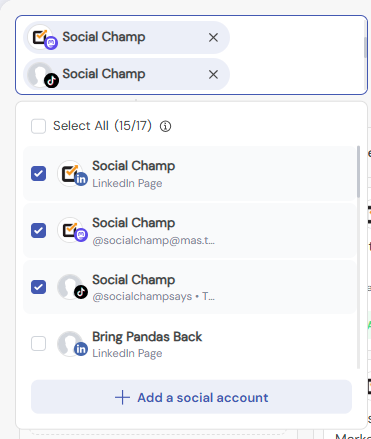
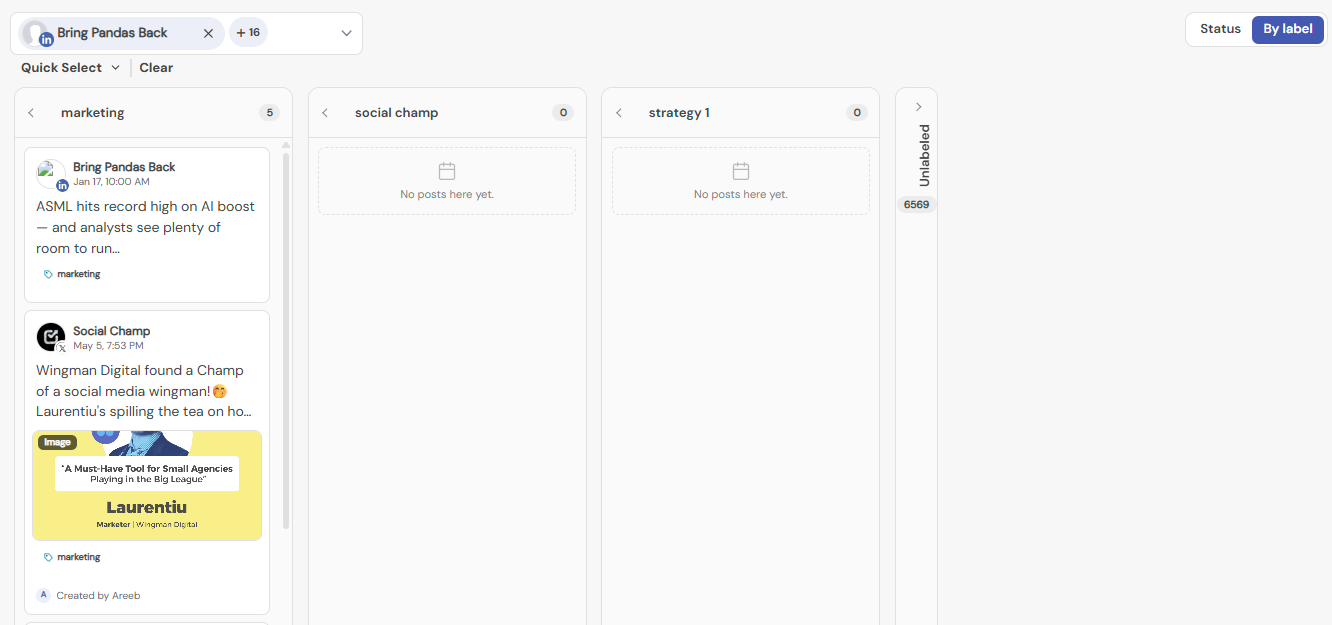
- At the top left, select one or more connected social accounts to see their posts on the board. Use the refresh icon to pull the latest post statuses, or the X to clear your account selection.
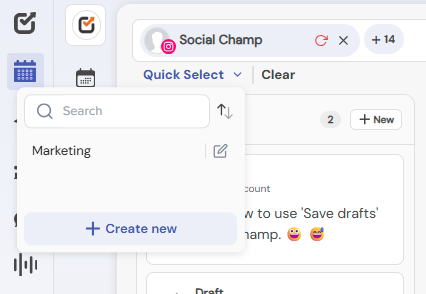
- Use Quick Select to jump to a saved group of accounts, or click Clear to reset your filters.
- The board is organized into six columns that track a post through its entire lifecycle:
- Drafts — posts you’ve started but not yet scheduled
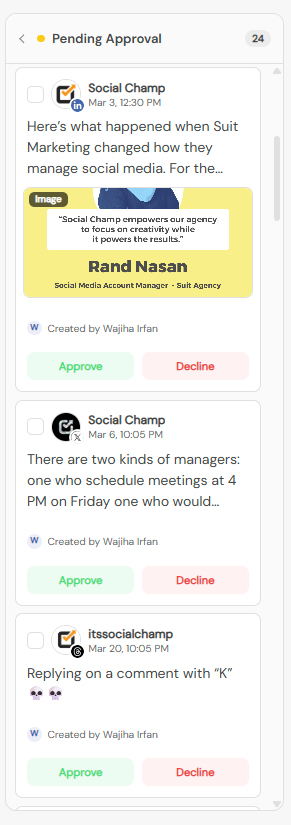
- Pending Approval — posts awaiting approval from a teammate or client
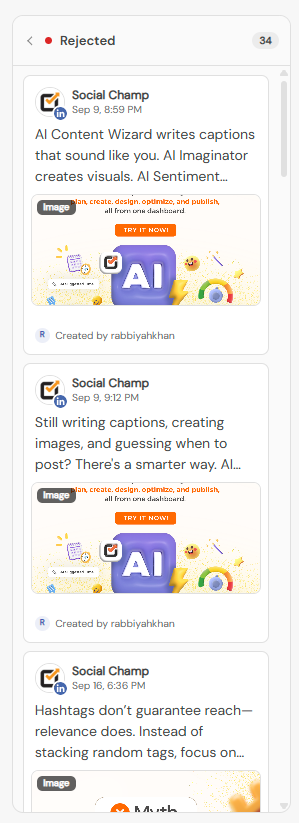
- Rejected — posts that were declined during approval
- Scheduled — approved posts queued to go live
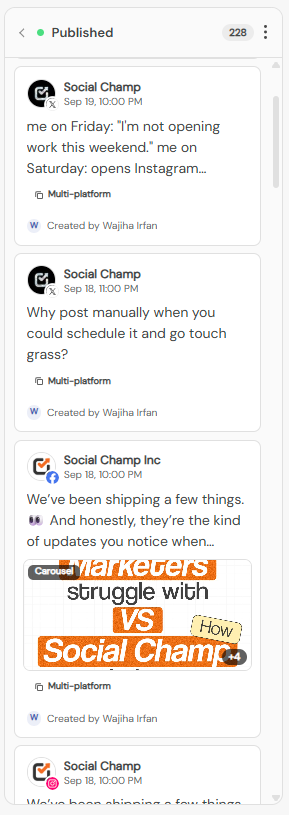
- Published — posts that have gone live on your connected accounts
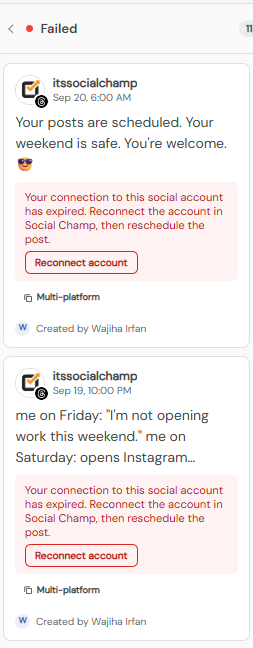
- Failed — posts that couldn’t publish
- Each column header shows a live count of posts in that stage.

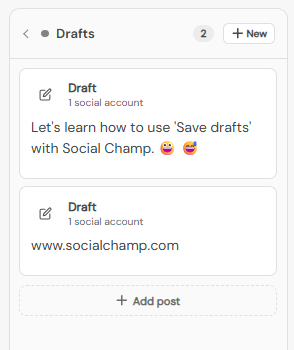
- In the Drafts column, click + Add post to start a new draft, or open an existing draft card to keep editing it.
- In Pending Approval, each card shows who created the post and when. Use the Approve or Decline buttons directly on the card to move it forward or send it back, no need to go to the designated section.
- Posts that are declined land in Rejected, so you can see at a glance what needs rework before resubmitting.
- Scheduled posts show their scheduled date and time. If a post is overdue, it’s flagged with an Overdue label so it doesn’t slip through. Click + New to schedule a post directly from this column.
- Once a post goes live, it moves to Published, where you can see which platform(s) it posted to and who created it.
- If a post couldn’t be sent, it appears in Failed with the reason why (for example, an expired account connection) and a Reconnect button to fix it right from the card.
- Use the Status and By label tabs at the top of the board to switch how posts are grouped, or use the search bar to find a specific post by keyword.
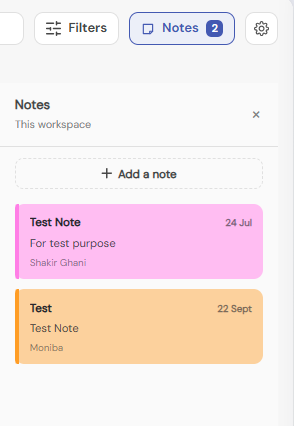
- Click Notes to leave context for your team about a specific post or campaign.
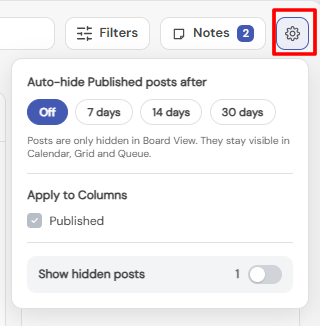
- Use the settings icon to adjust your board preferences, and auto hide the published posts.
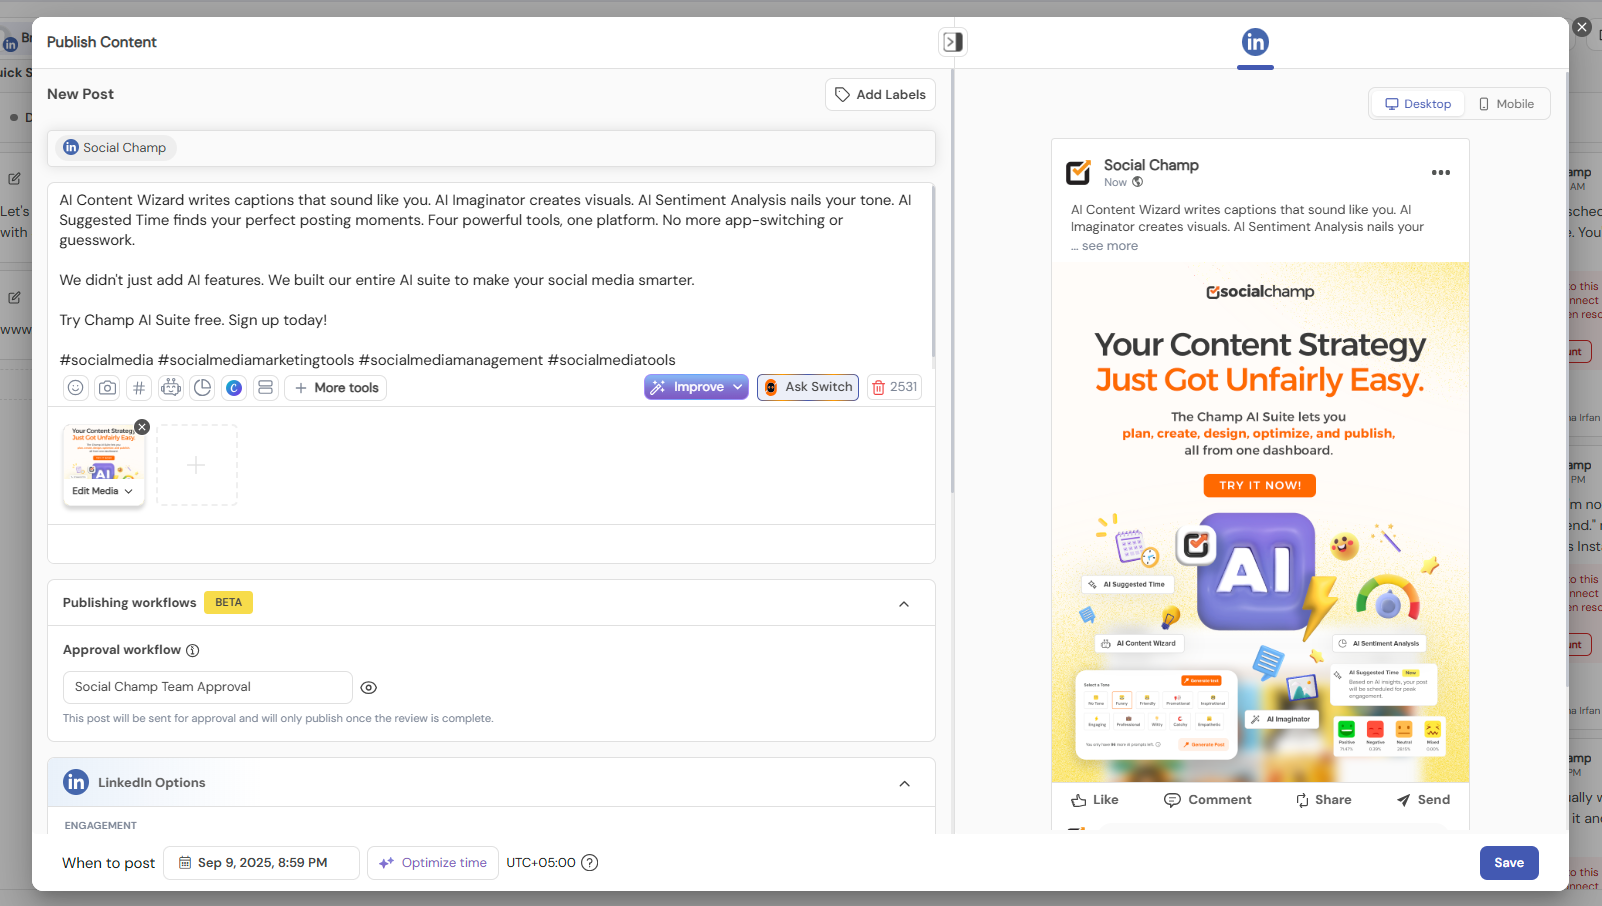
- Click on any card to open it for a closer look — this shows the full caption, attached media, and you can edit the post.
That’s it, Champs! Now you know how to manage your entire content Calendar from first draft to publish, using Social Champ’s Kanban Board.
Get the Support You Need
Having trouble connecting your YouTube account? Got a question about publishing or scheduling? We’re here to support you every step of the way. Simply email us at [email protected] and we’ll get back to you.
Hey Champs! Social Champ’s Calendar feature allows you to get a bird’s eye view of all your social media scheduling Read more
Social Champ’s Shared Calendar feature is designed to help teams and clients collaboratively manage and review scheduled social media posts. Read more
Hey Champs! After scheduling the content, you can edit your scheduled post from the Calendar/Queue. Let’s get started with a Read more
Introduction Social Champ makes it simple to manage and track your scheduled posts across all your connected social media platforms. Read more