
Hey Champs! After scheduling the content, you can edit your scheduled post from the Calendar/Queue.
Let’s get started with a step-by-step guide to editing a scheduled post in the Calendar.
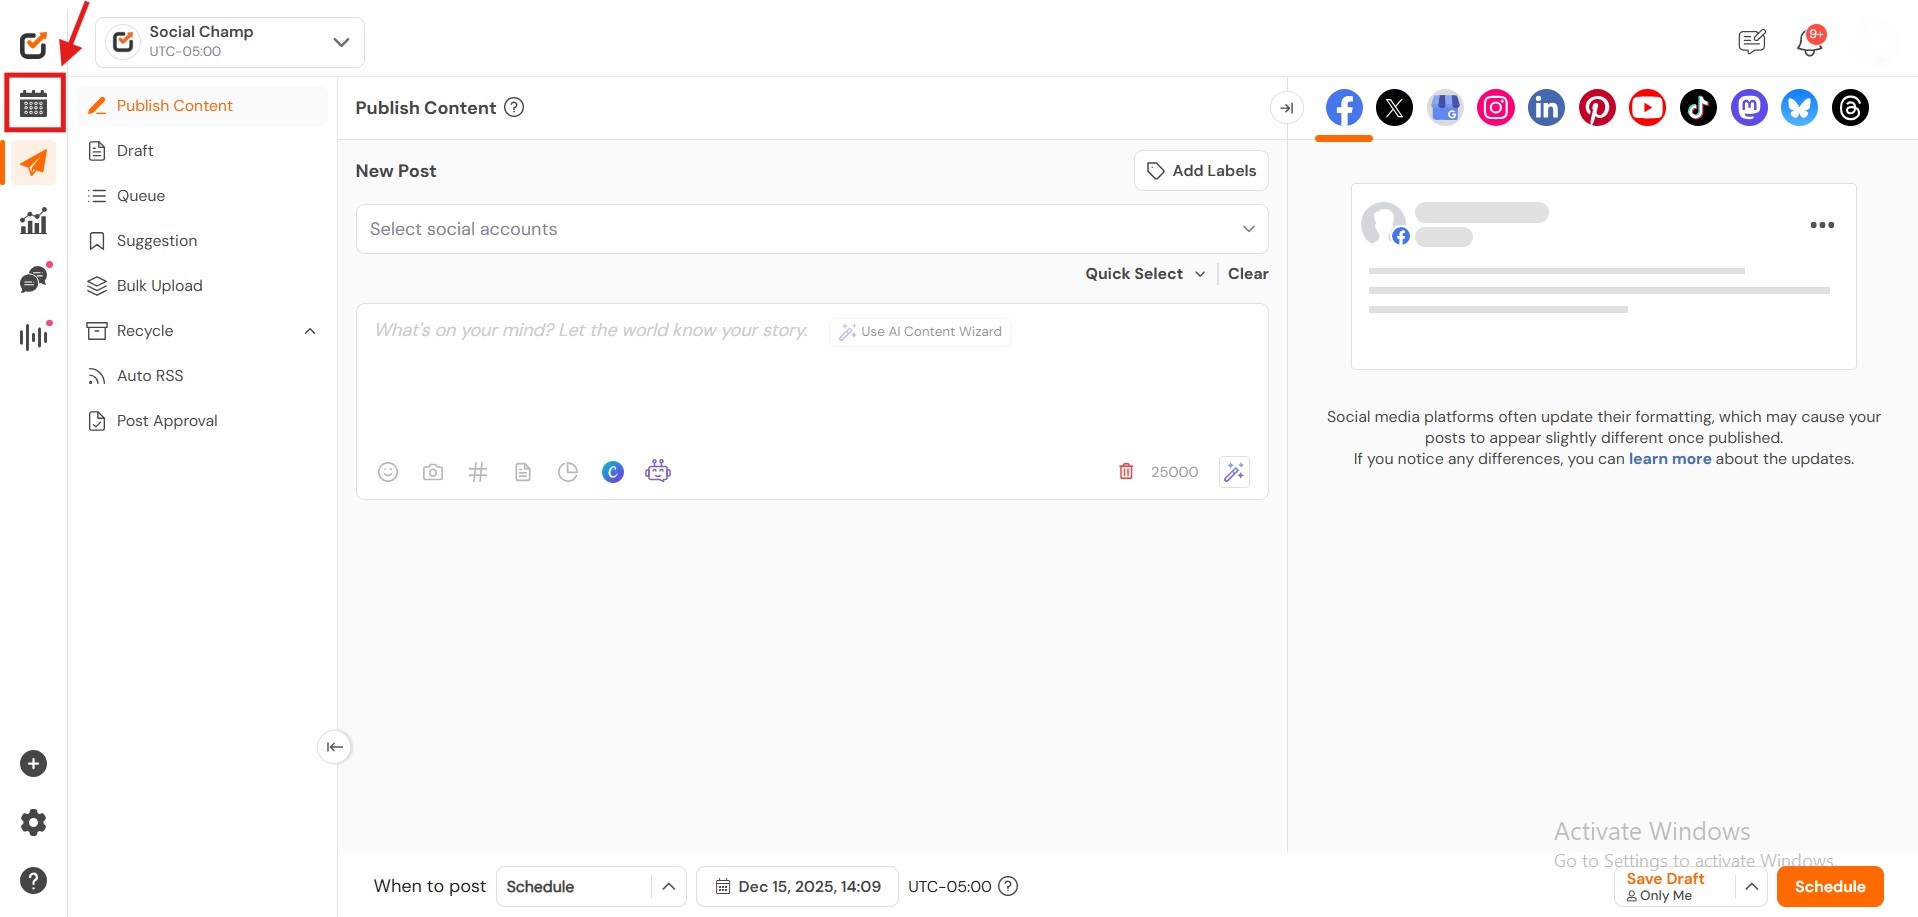
Select ‘Calendar’ from the left panel.
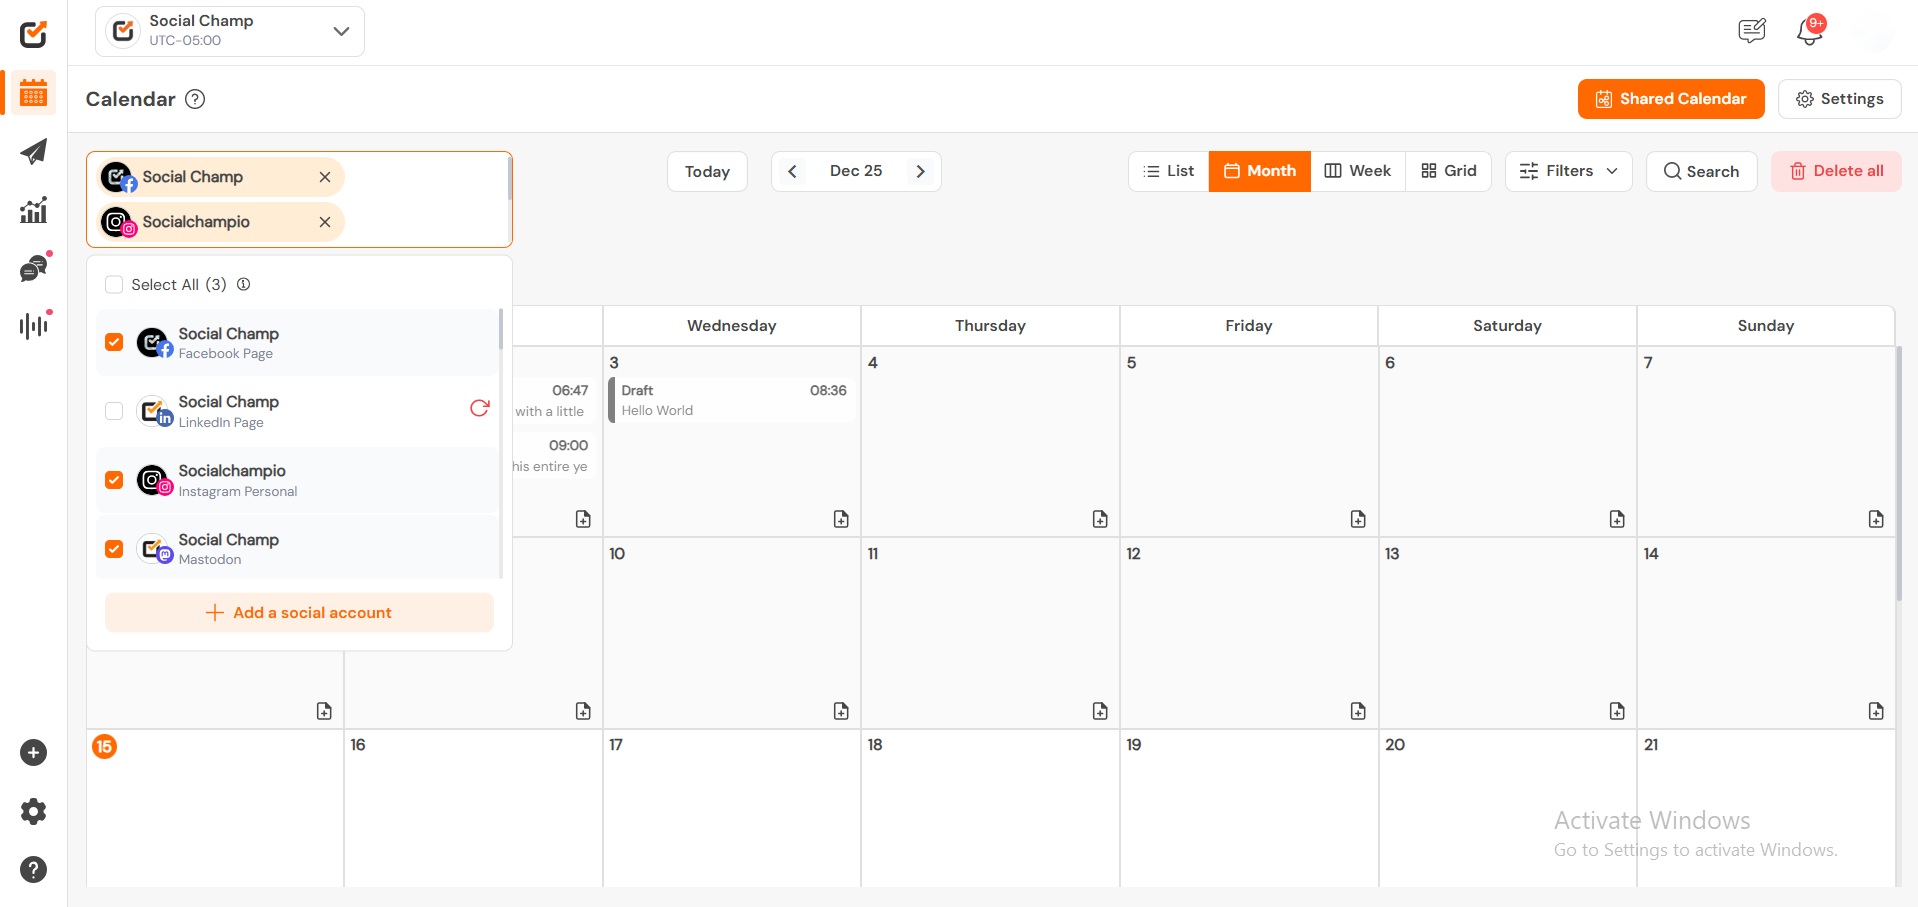
- Choose your social media accounts from the top left drop-down for which you want to see the scheduled post.
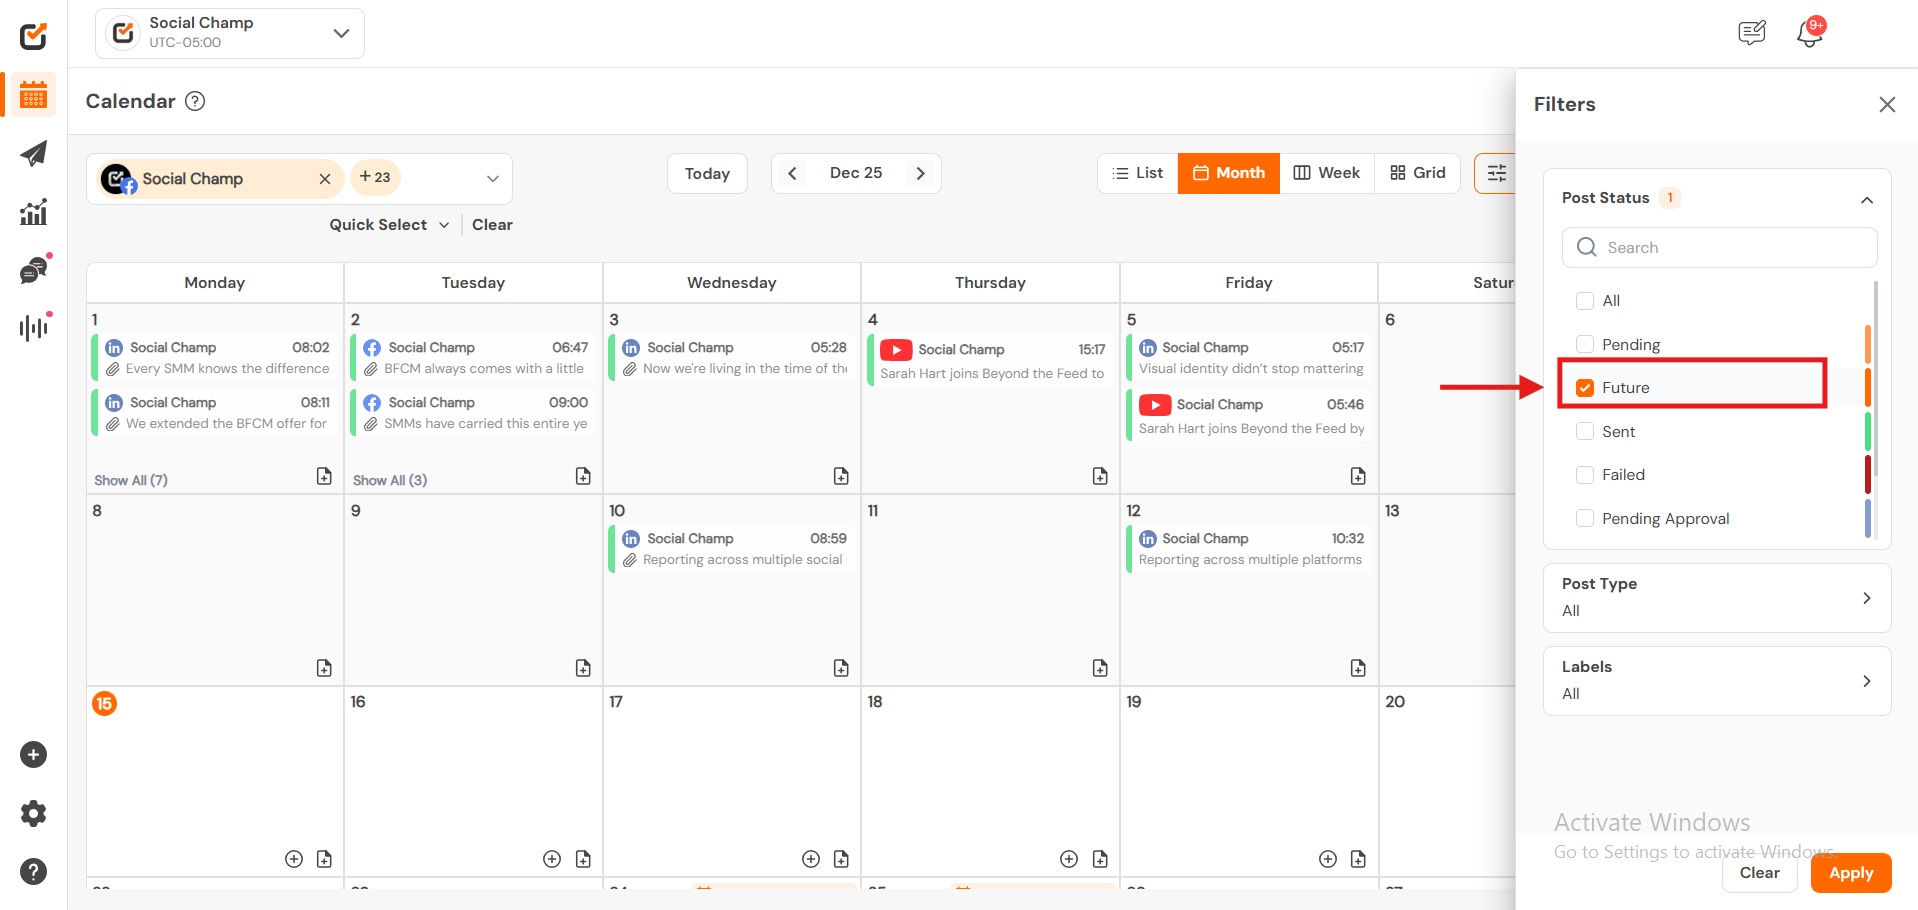
- From the top right drop-down, you can filter the posts based on the post type available. Select ‘Scheduled Posts’ to see the posts accordingly.
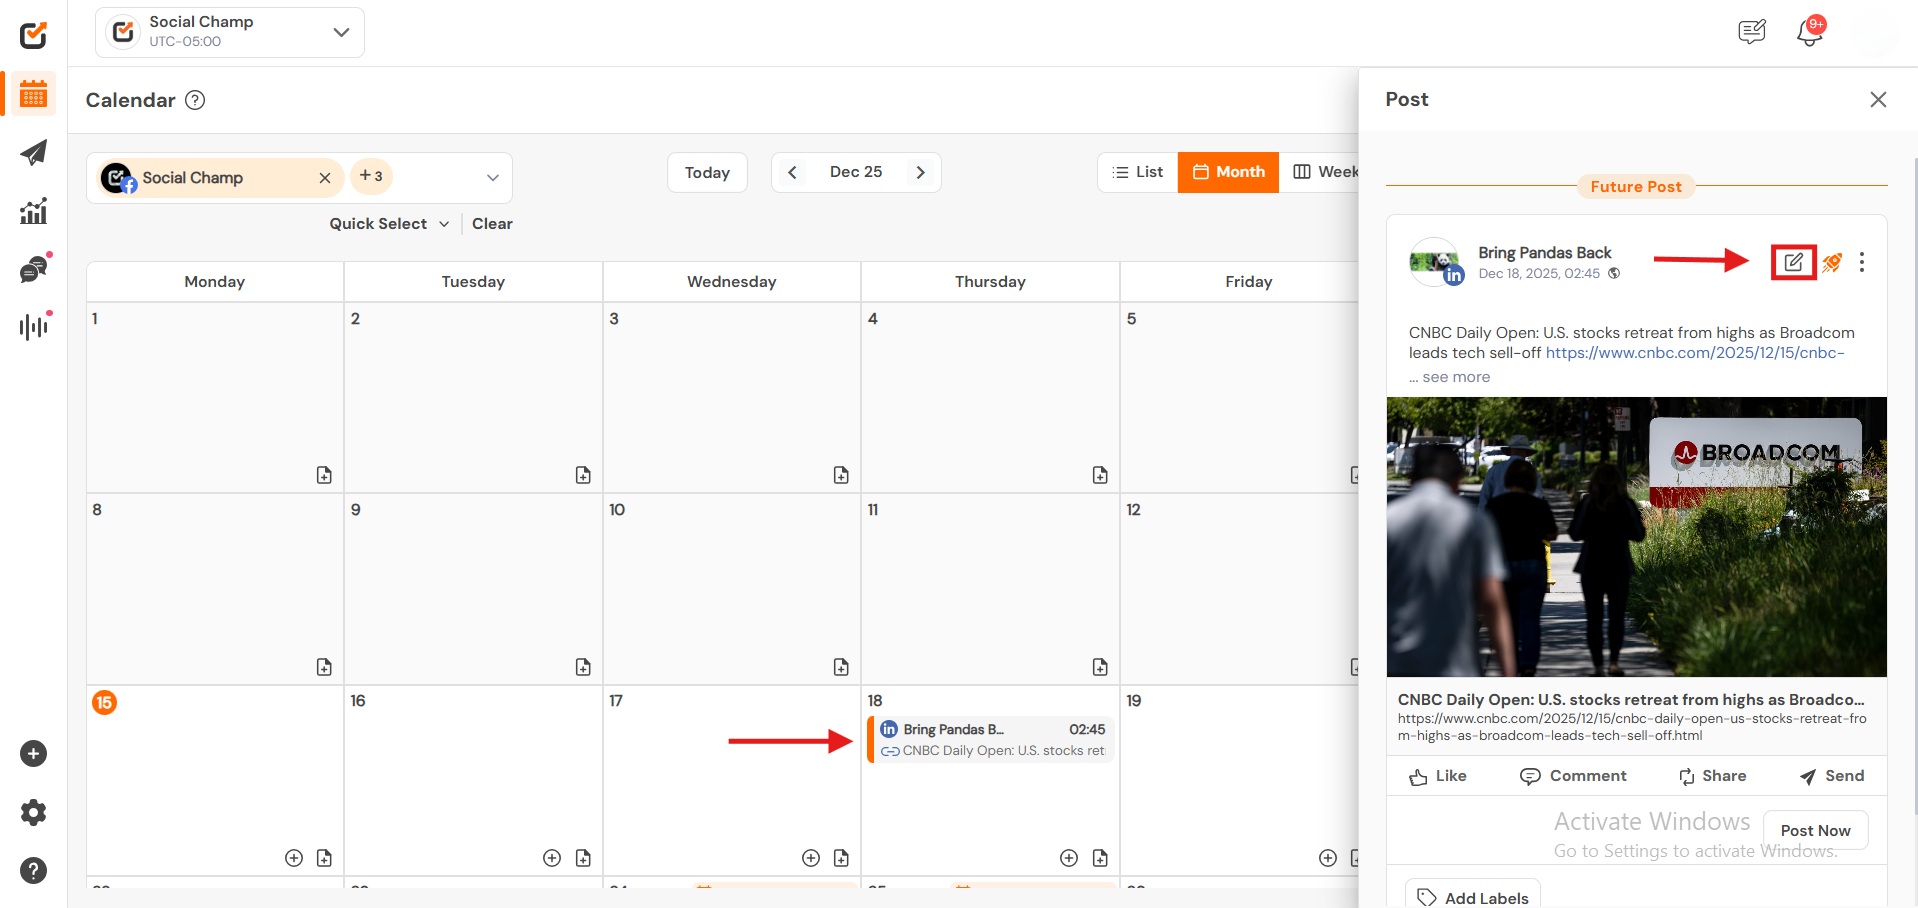
- Clicking the post will display a post preview on the right side of the Calendar. To edit the post, click on the Edit button available at the bottom of the Preview.
- A pop-up window will appear; make the desired edits and click ‘Save.’
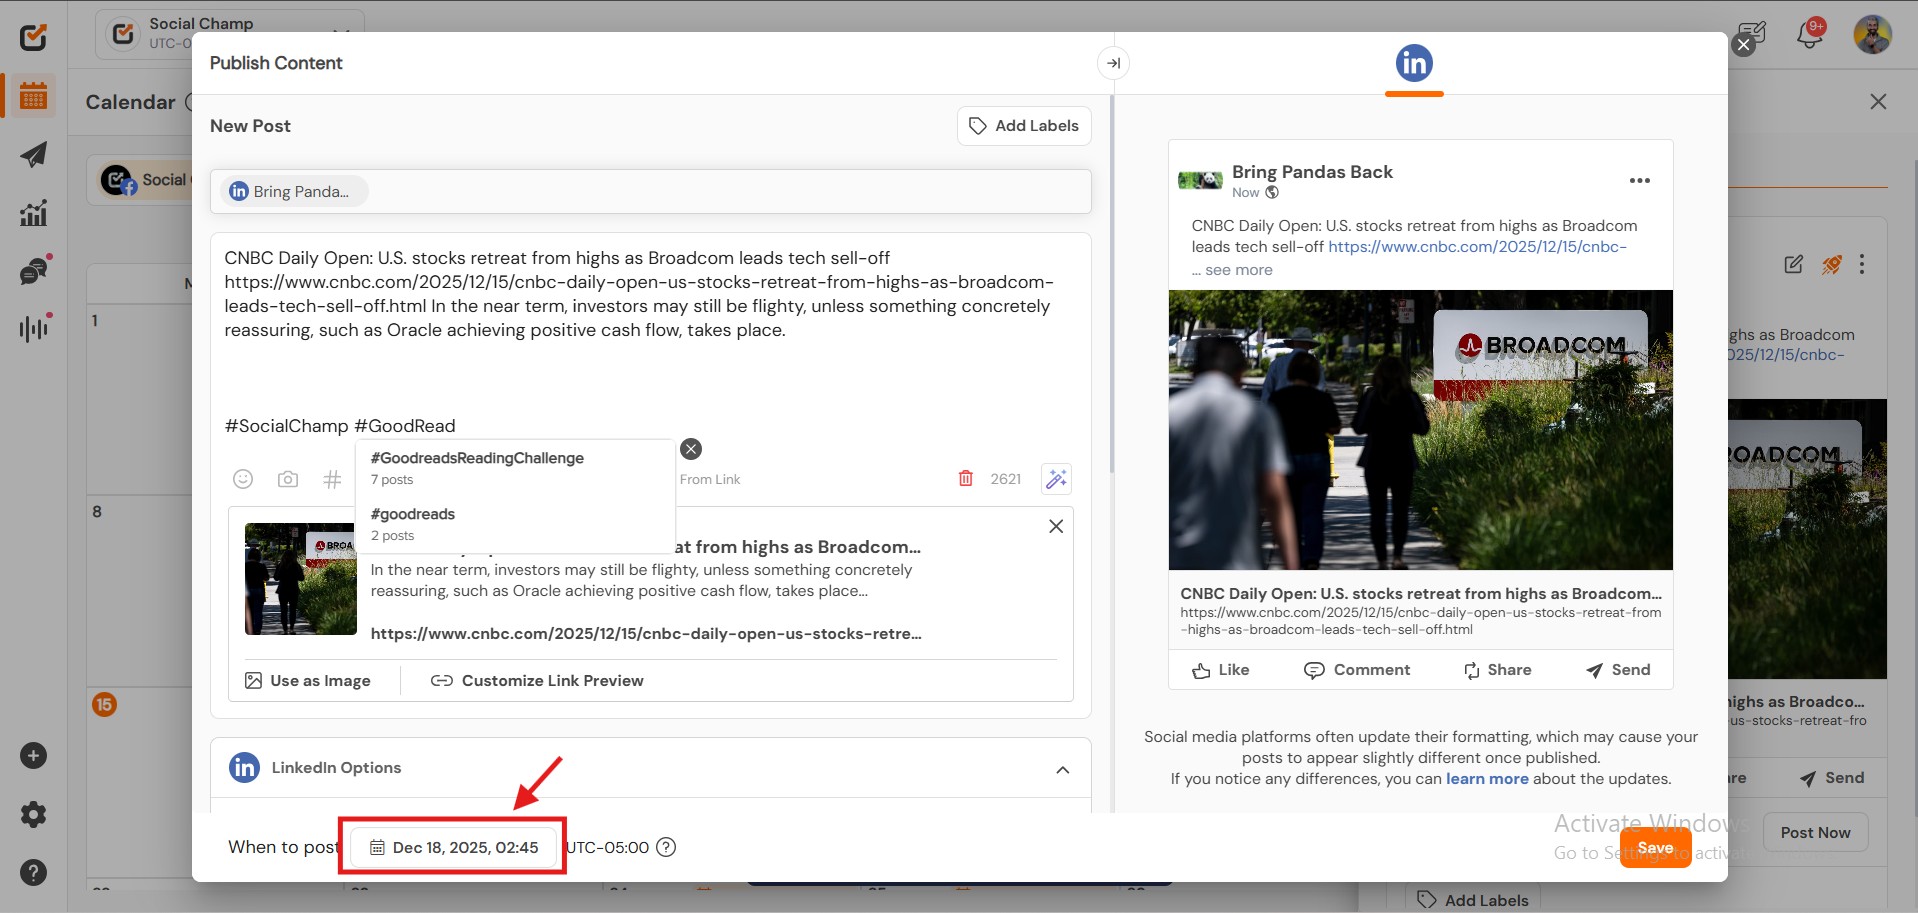
You can also edit the scheduled post from the Queue section. Let’s see how it works.
- Select ‘Publish’ from the left panel.
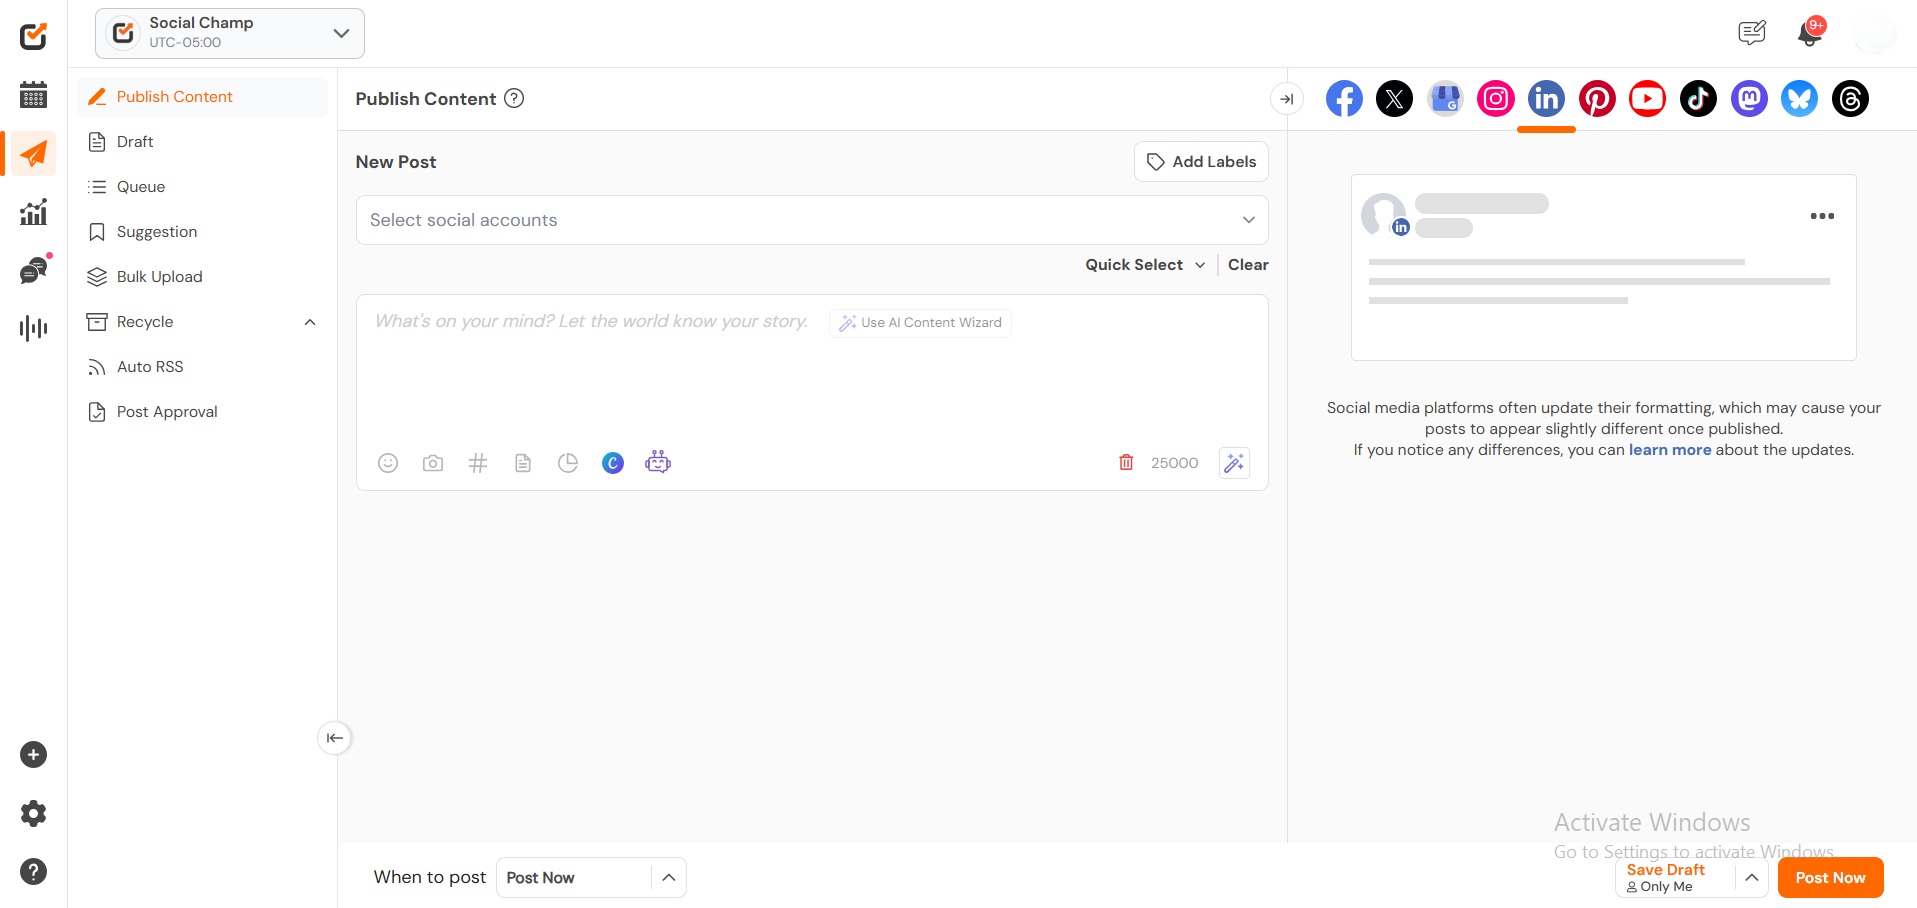
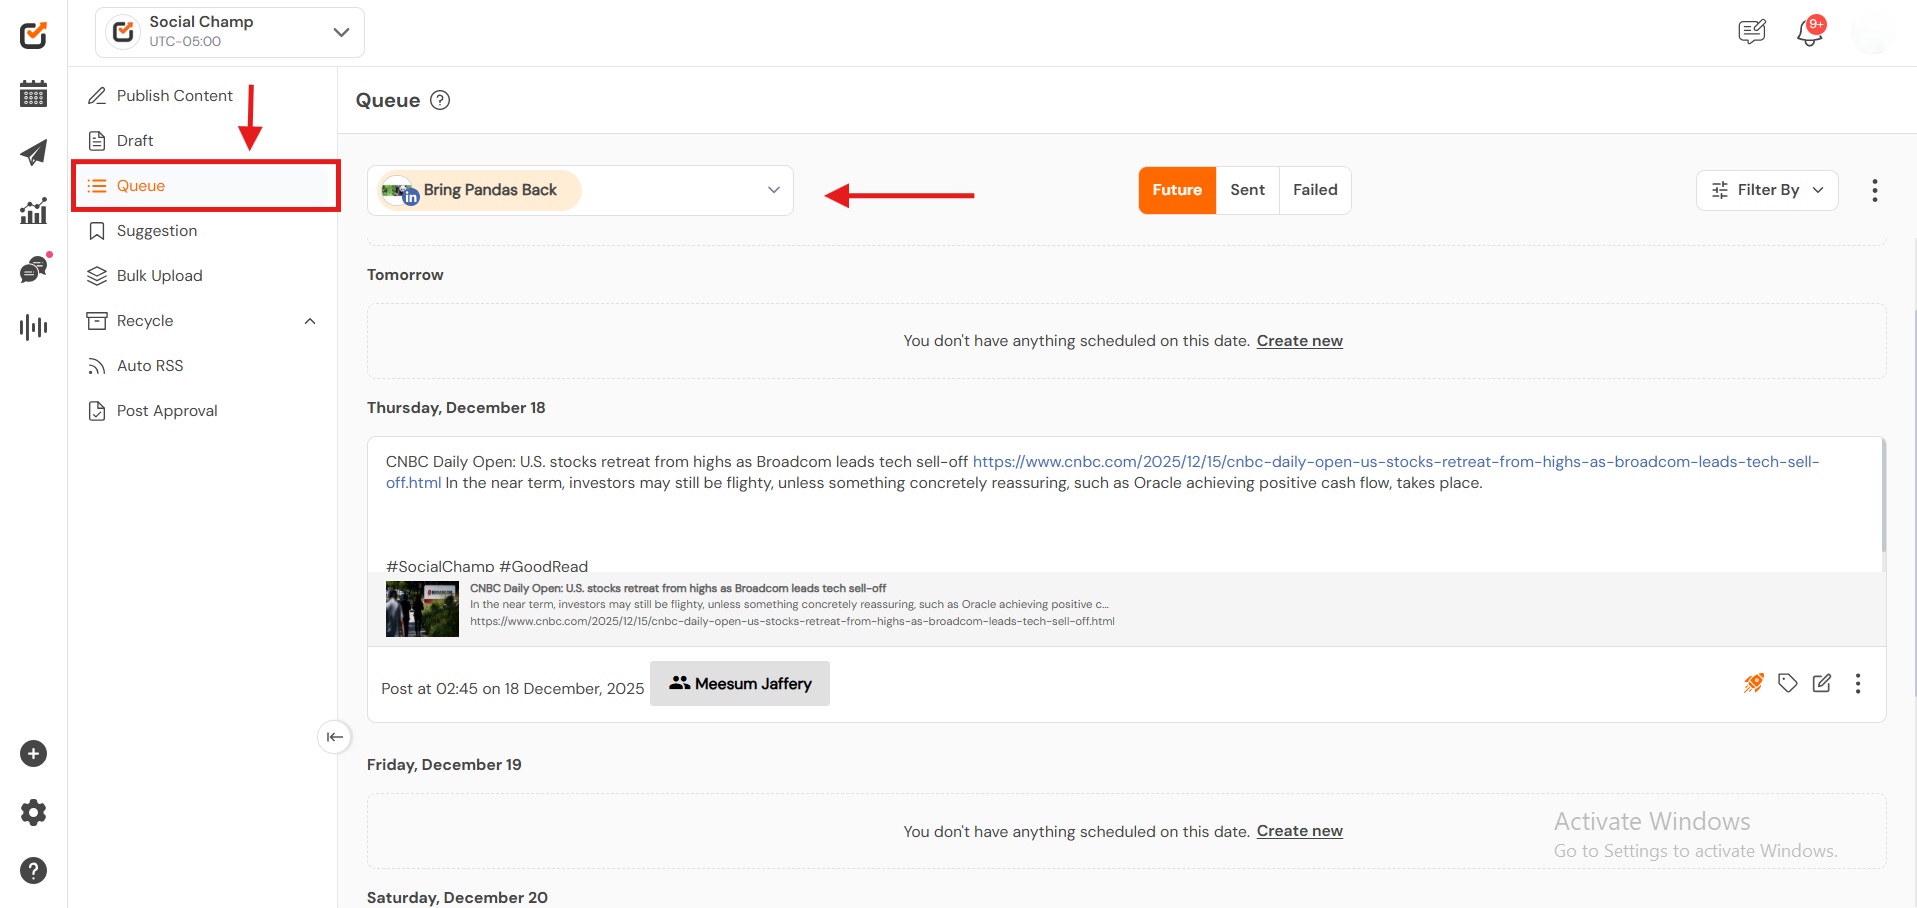
- Choose ‘Queue’ from the left column and select the social media account from the top left drop-down.
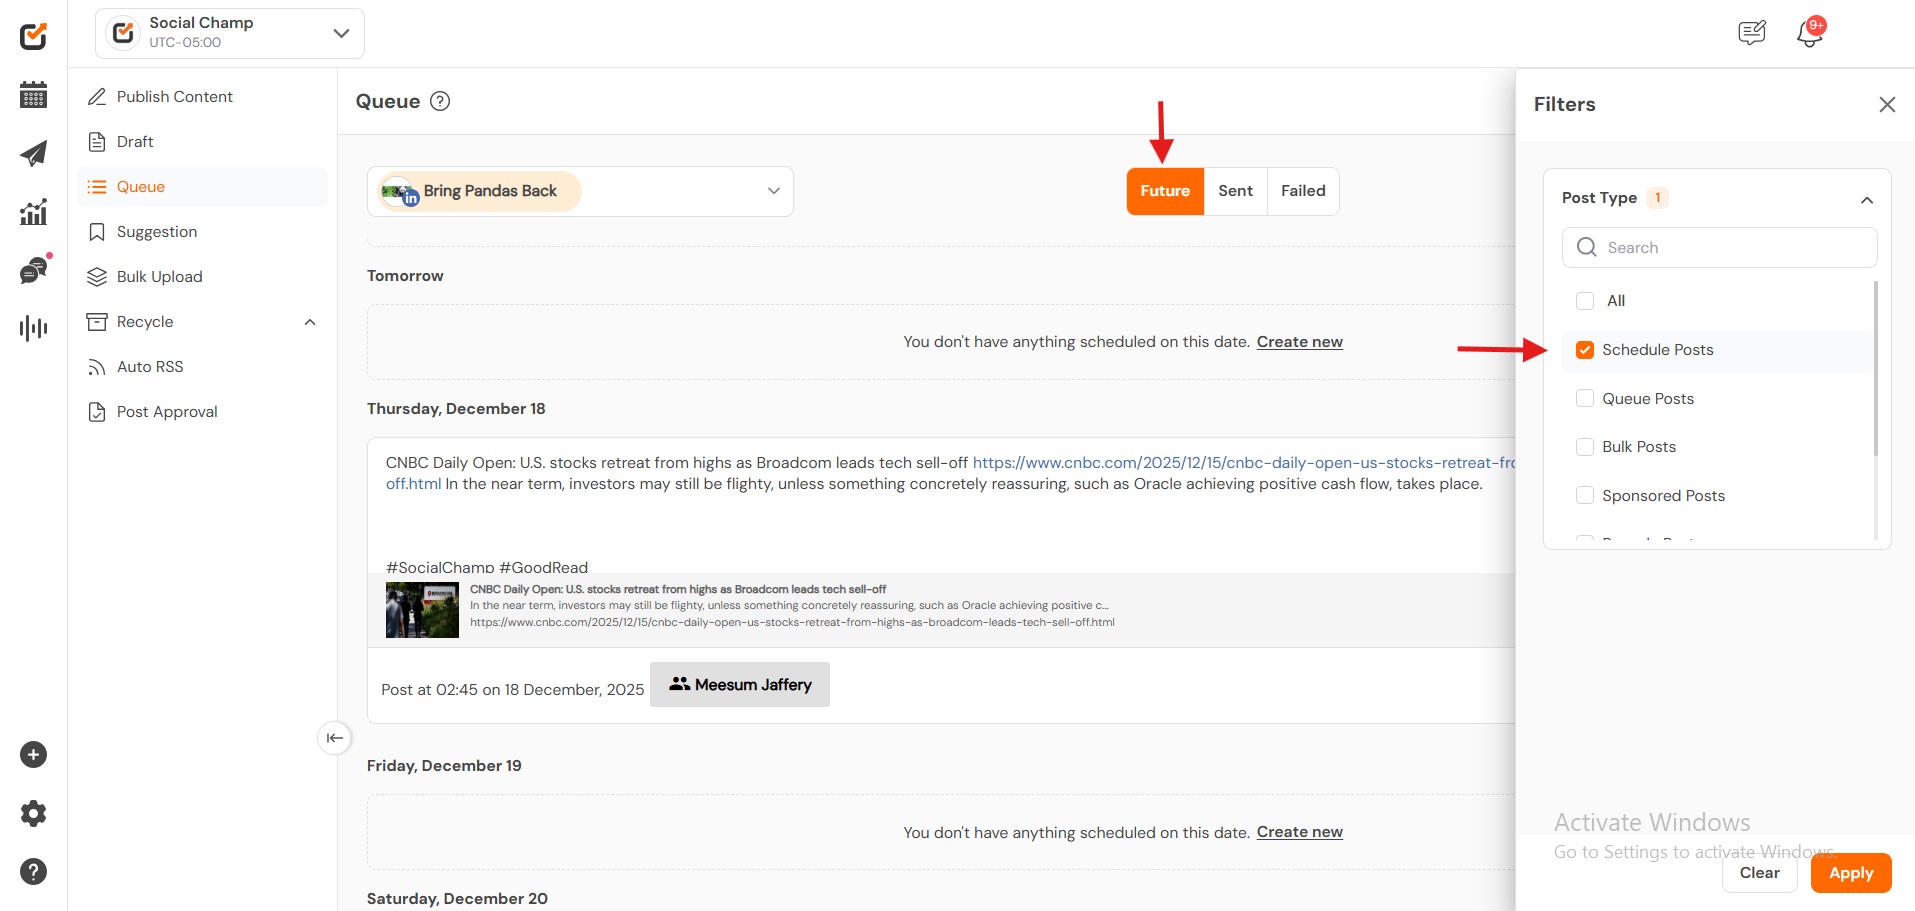
- Being on the ‘Future’ tab, select the post type as ‘Scheduled Posts.’ Here, you can see all of your scheduled posts for the selected social media account.
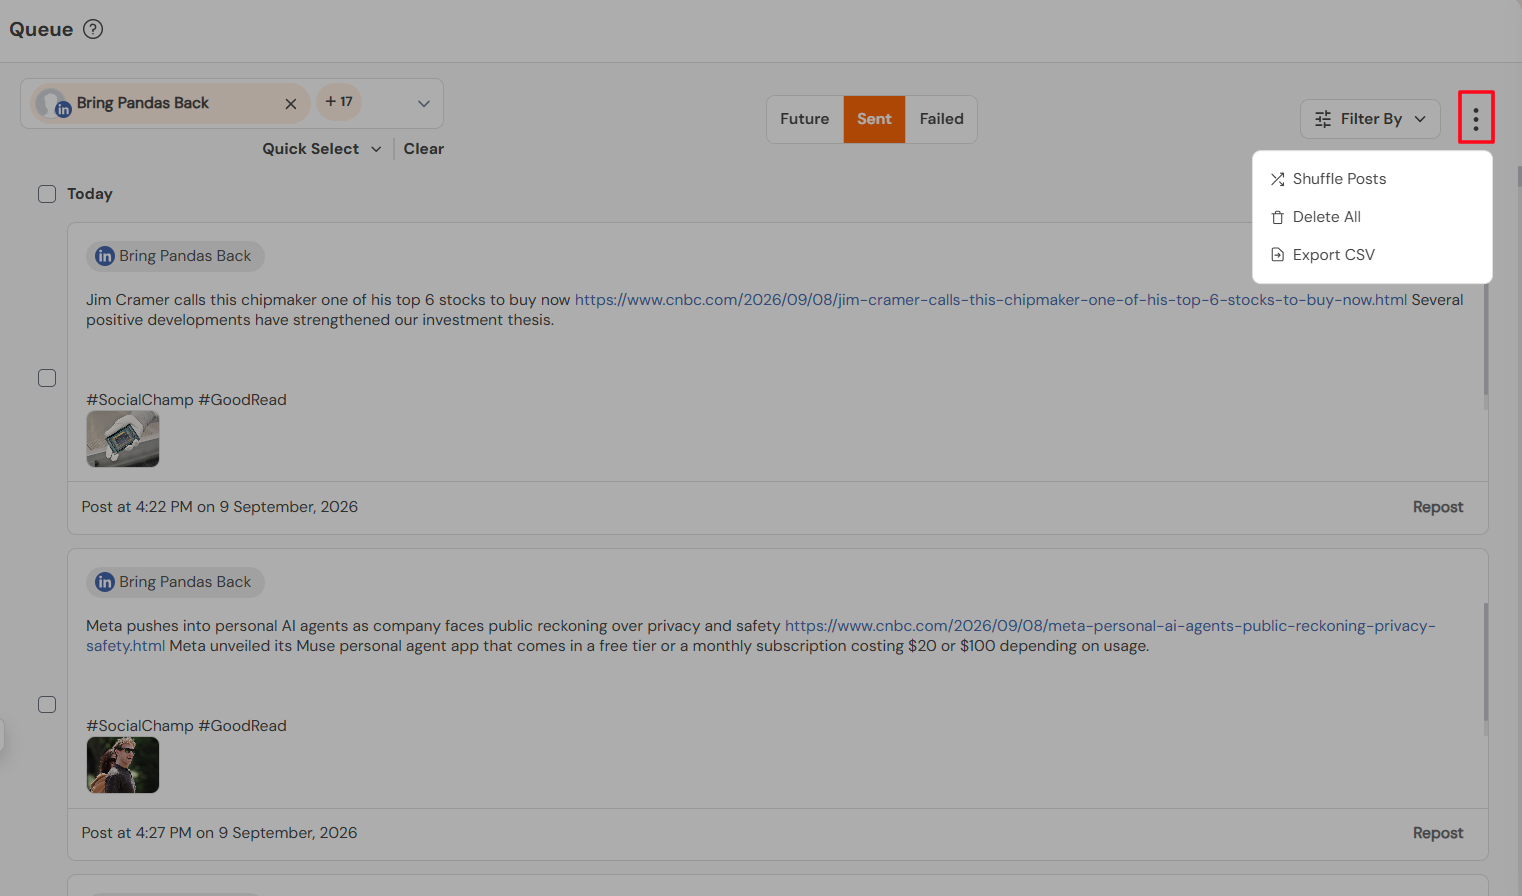
- Clicking on the Three dots will give you an option to Shuffle posts, or delete all posts.
The Future, sent and Failed Posts can be exported using the Export CSV button.
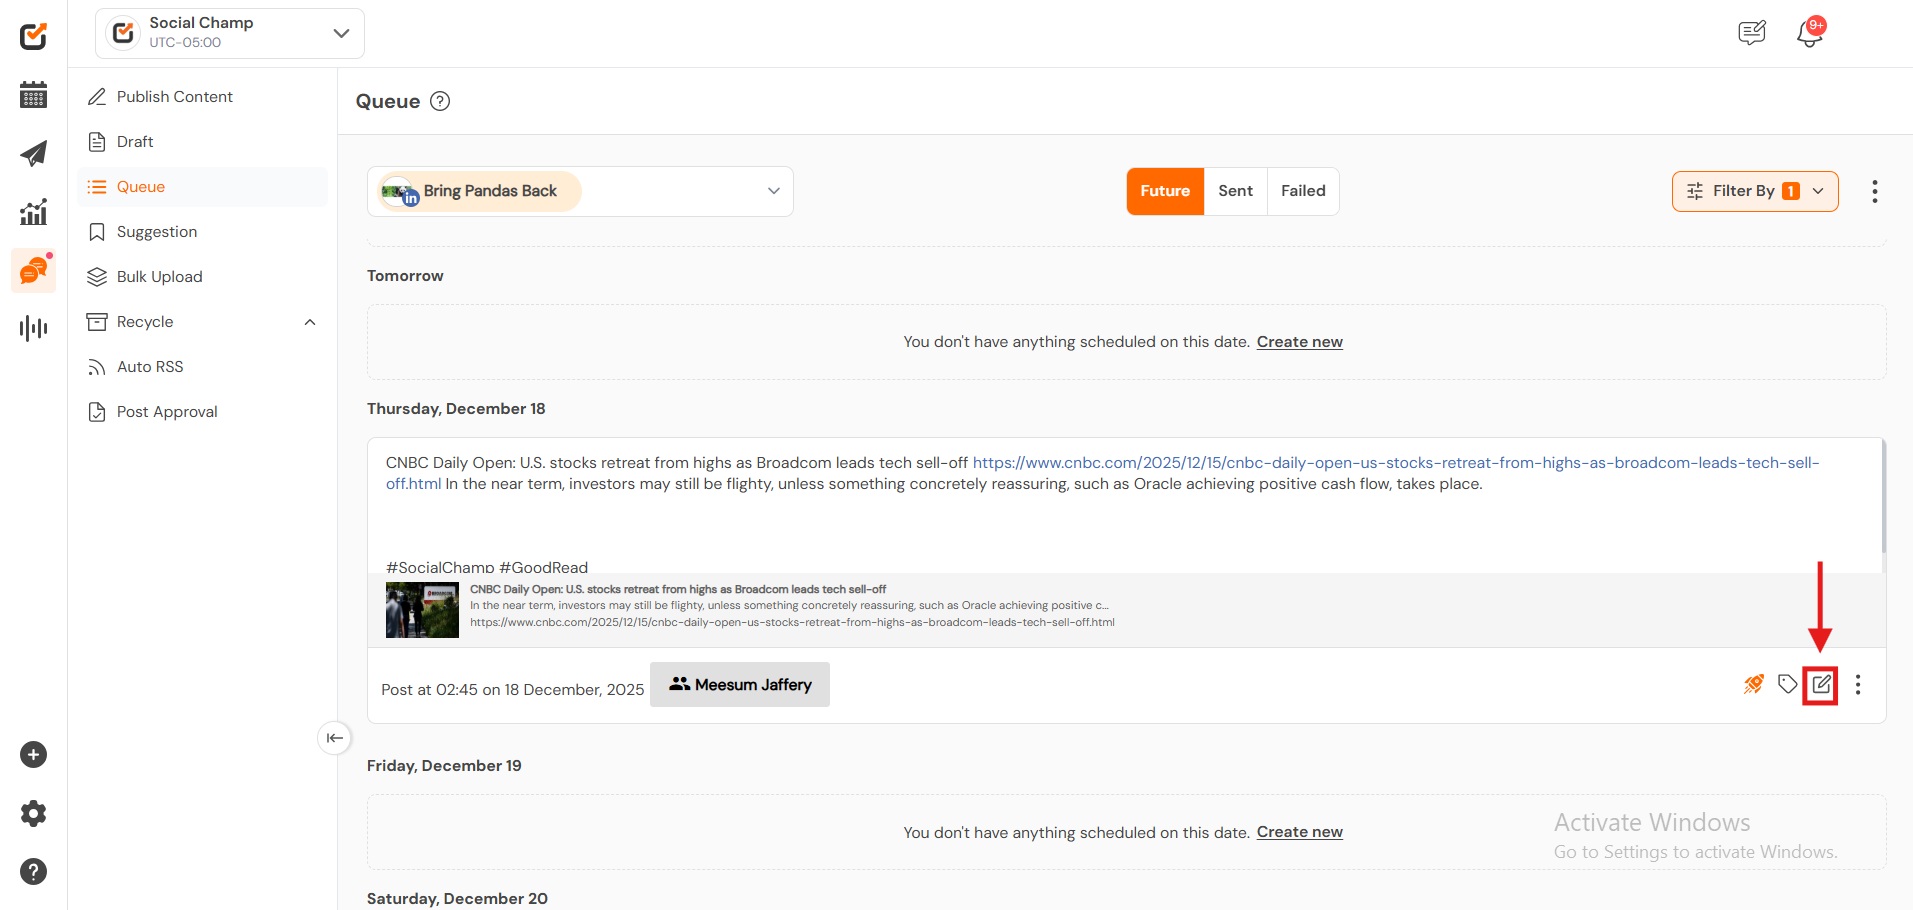
- Select the ‘Edit’ button available at the bottom of the scheduled post.
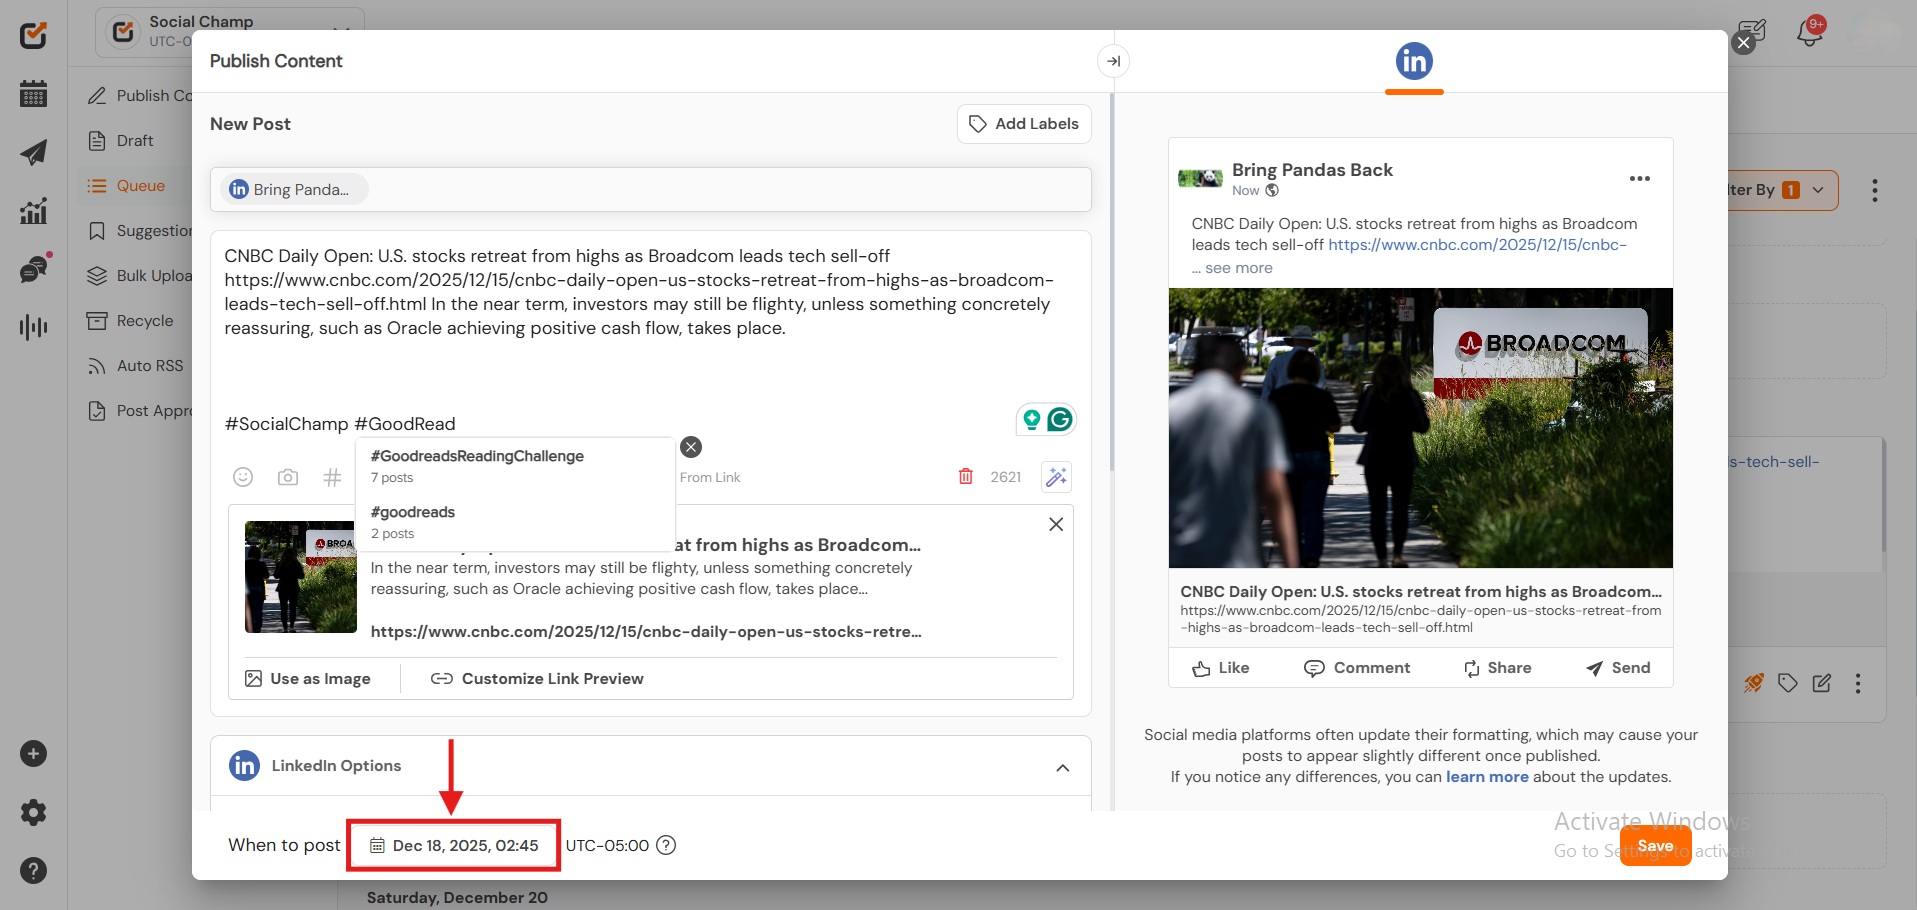
- A pop-up window will appear, make the desired edits, and click ‘Save’.
Great work! Now you know how to edit your scheduled posts in the Calendar and Queue.
More of a visual learner? Check out this video about the Queue Feature and our Social Media Calendar.
Hey Champs! Social Champ’s Calendar feature allows you to get a bird’s eye view of all your social media scheduling Read more
Social Champ’s Shared Calendar feature is designed to help teams and clients collaboratively manage and review scheduled social media posts. Read more
Introduction Social Champ makes it simple to manage and track your scheduled posts across all your connected social media platforms. Read more
Hey Champs! After scheduling the content, the scheduled posts can be viewed in Calendar/Queue. Let’s get started with how to Read more