Social Champ’s Shared Calendar feature is designed to help teams and clients collaboratively manage and review scheduled social media posts. Whether you’re planning campaigns, coordinating with clients, or overseeing multiple accounts, this feature has your back.
Let’s get started with how you can create a Shared Calendar using Social Champ.
Access the Calendar and Shared Calendar
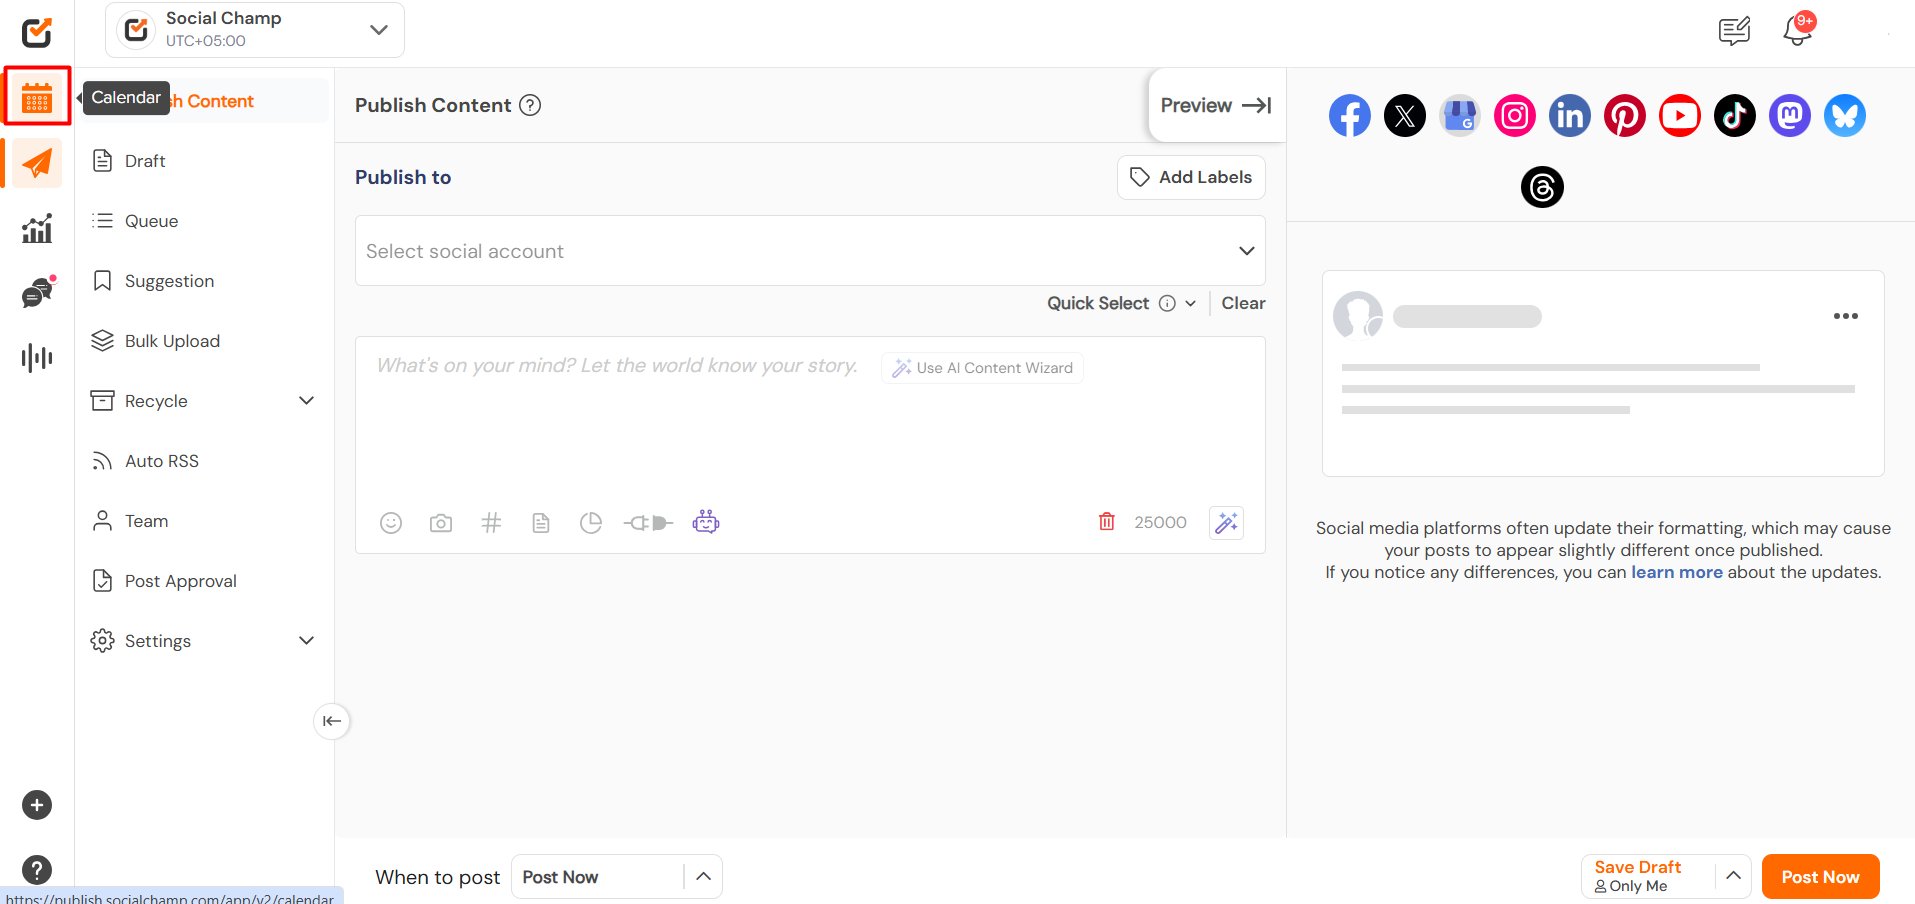
- When you log in to your Social Champ account, you will land on the main content dashboard. Click on the Calendar option in the left Panel.
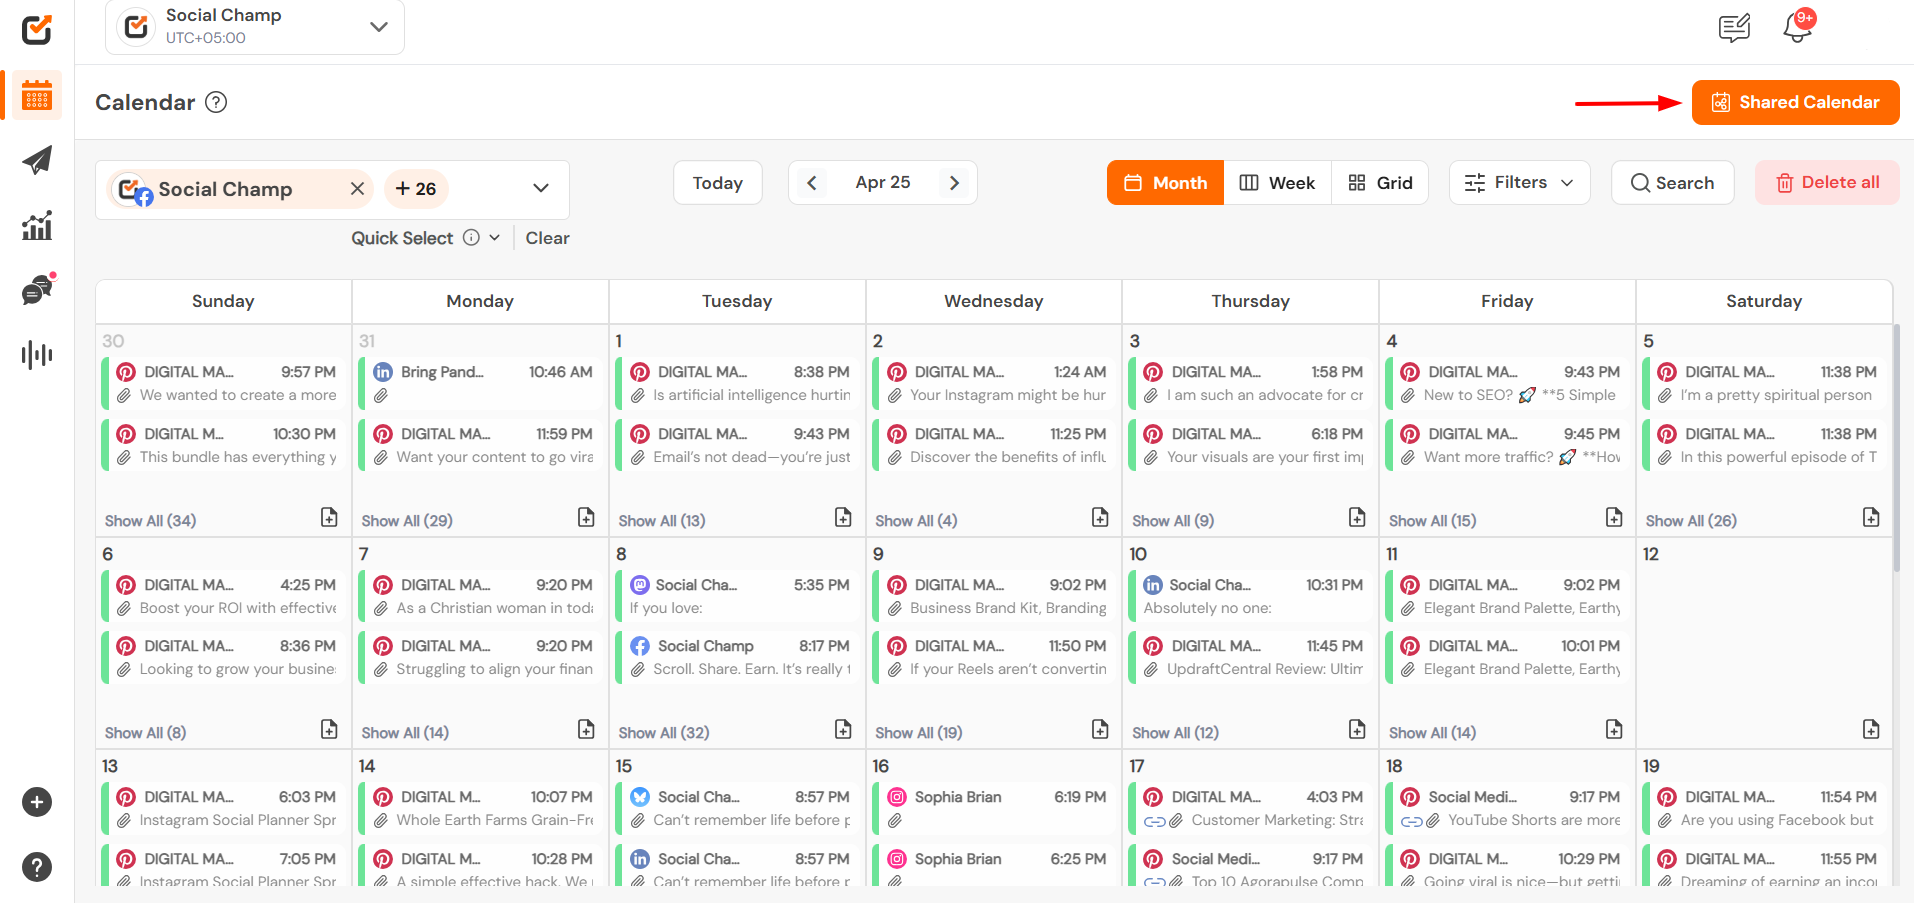
- In the top-right corner of the Calendar page, click on Shared Calendar.
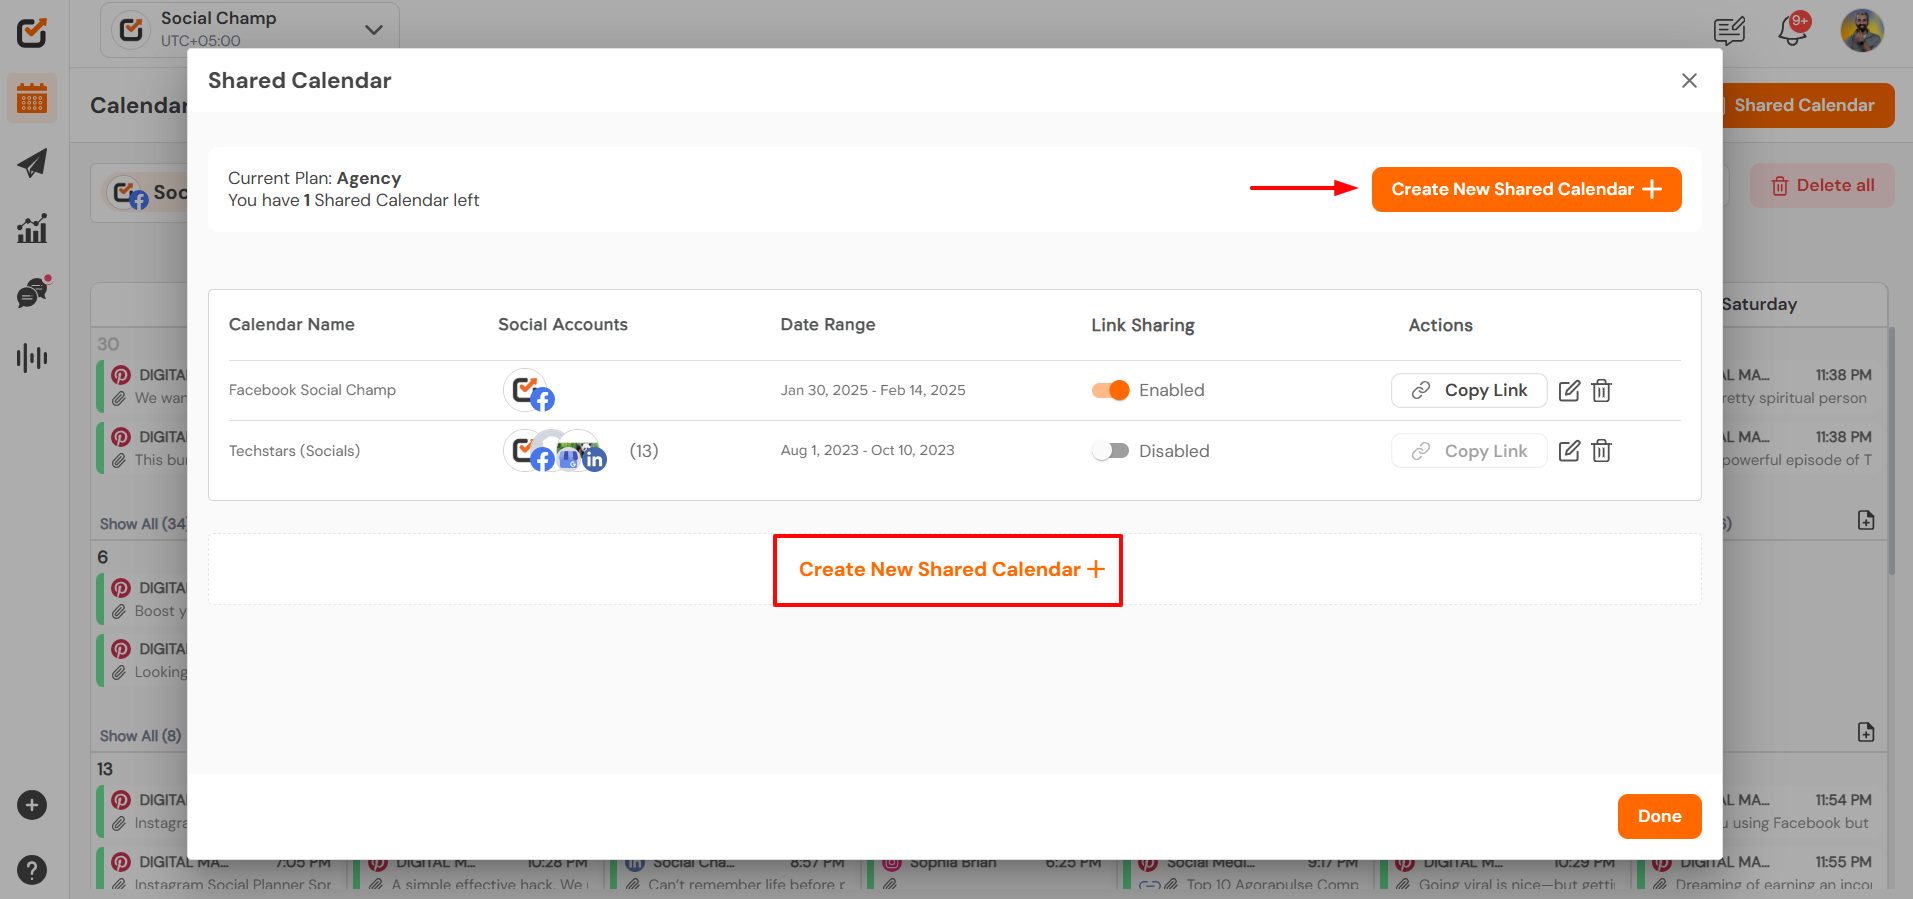
- Click on the ”Create New Shared Calendar” button. A pop-up window will appear.
Configure Calendar Settings
- Enter a name for your Calendar.
- To make it customise, you can also upload an image.
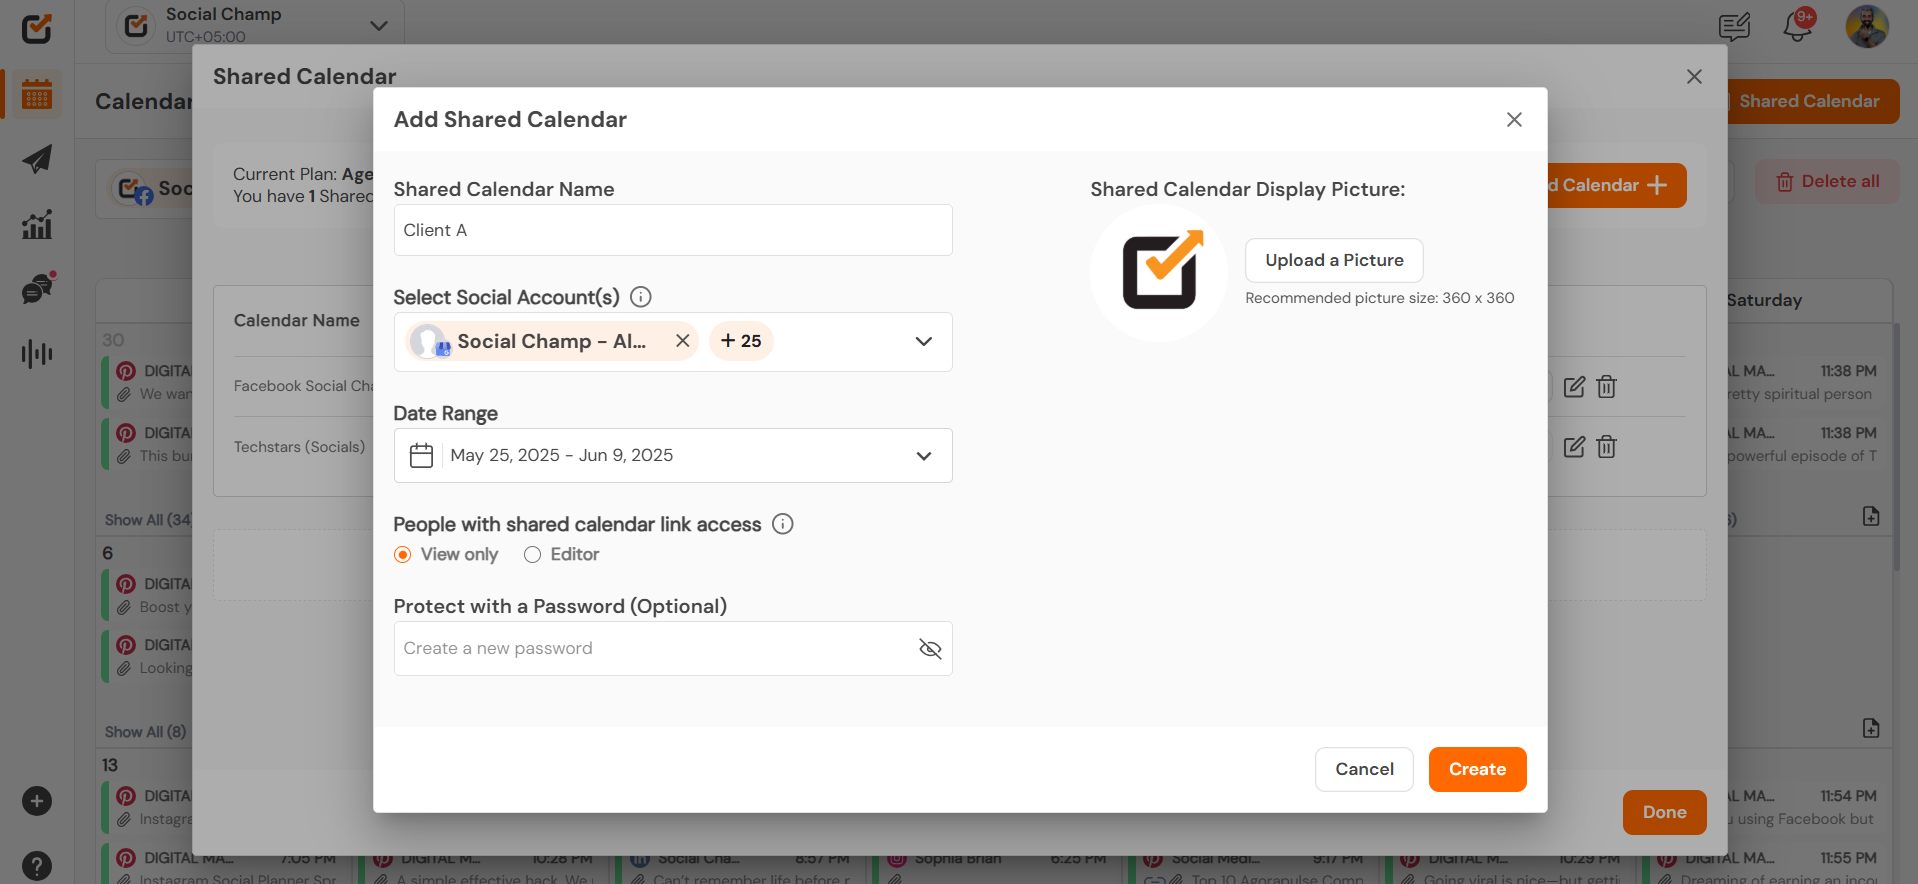
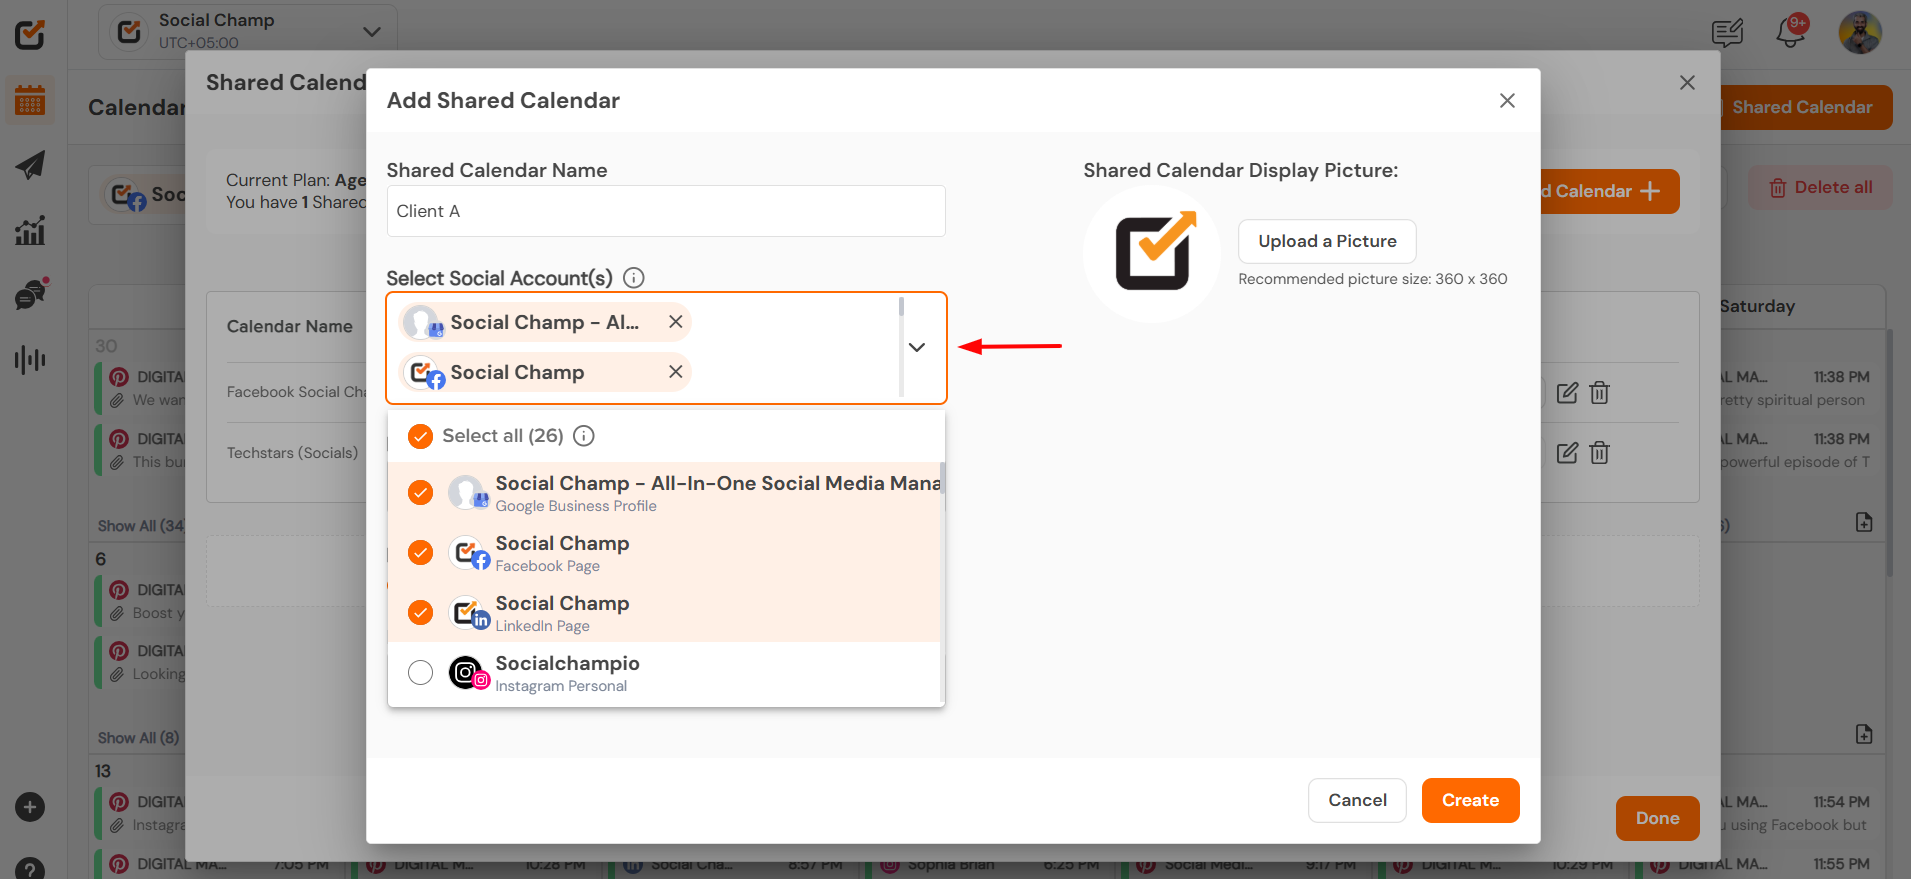
- Select one or more connected social media accounts.
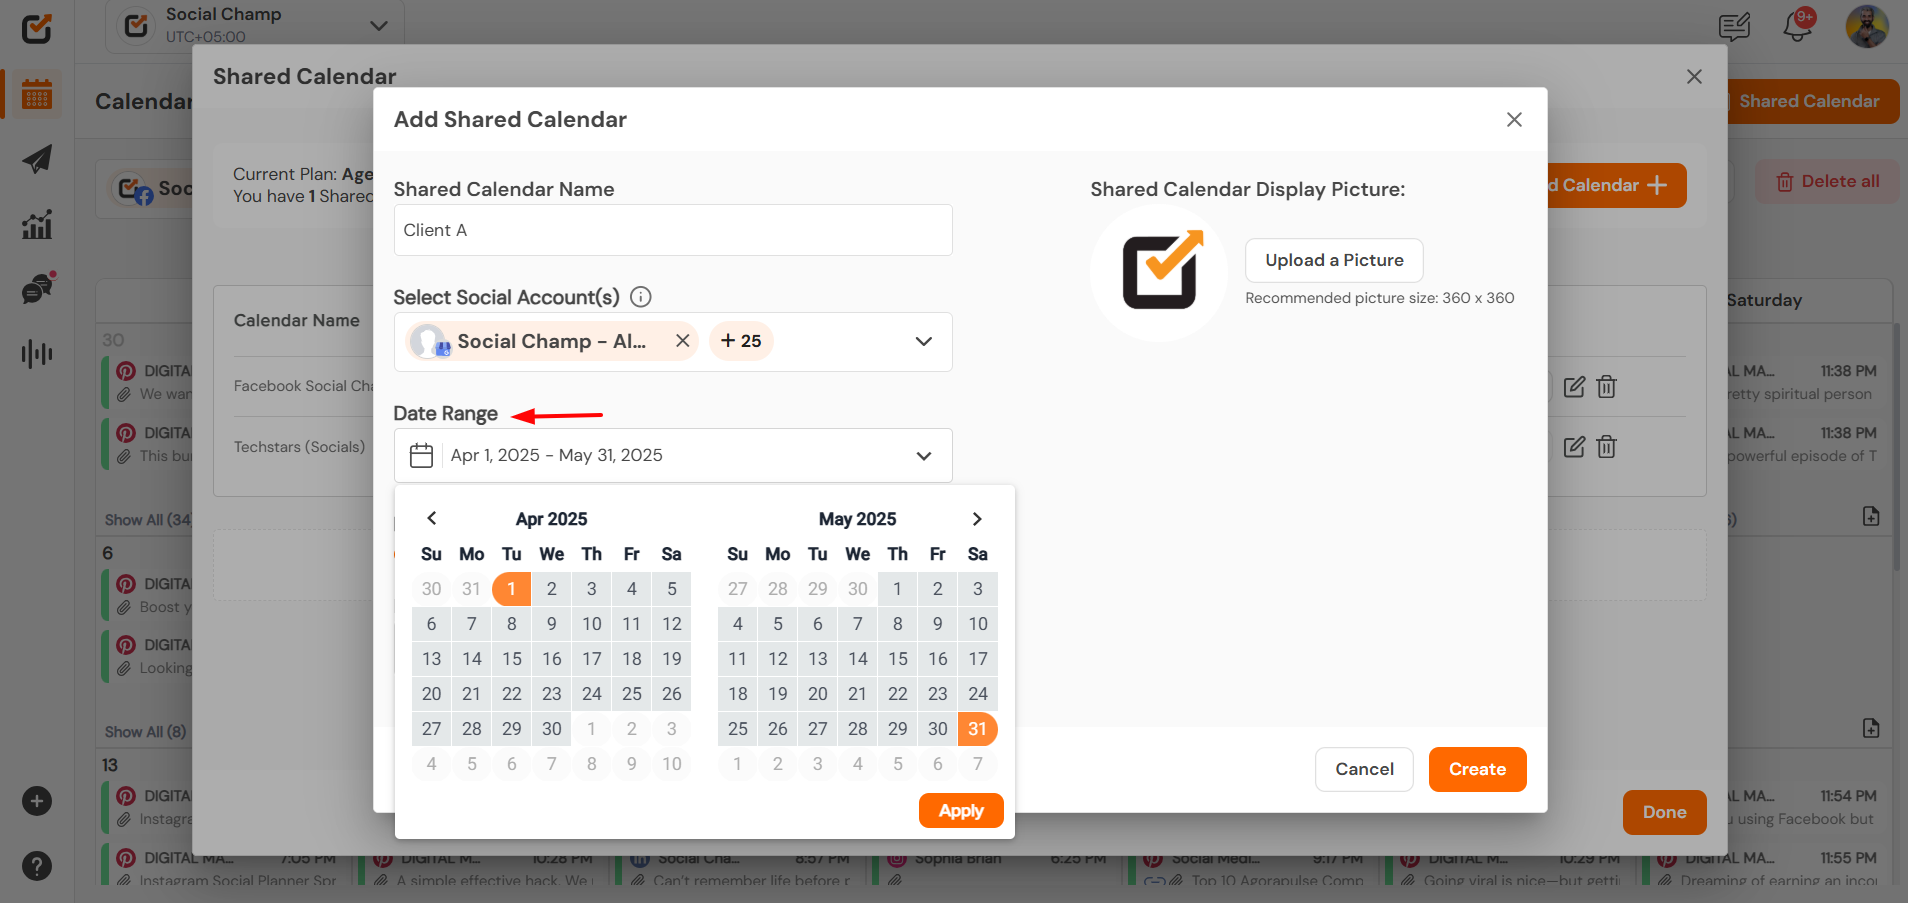
- Choose the date range, i.e., start and end dates for the posts to be displayed.
- Permissions: Set access levels:
View Only – Gives access to the client only to view the posts.
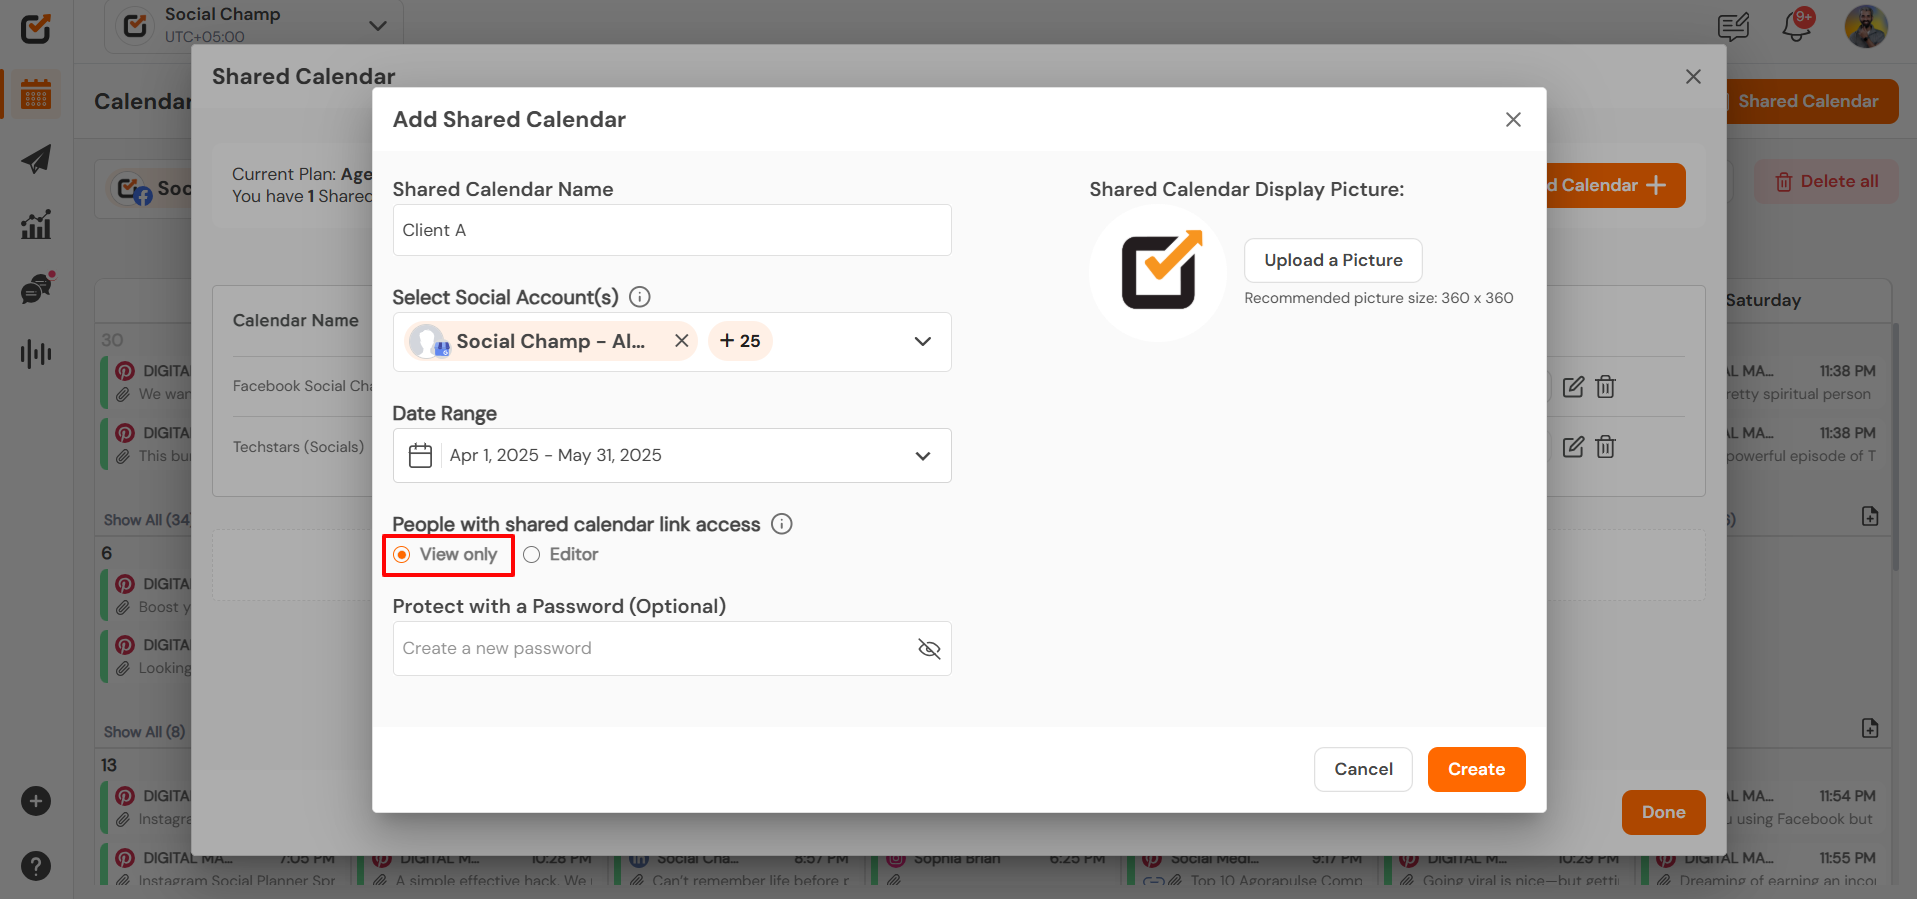
Editor – This gives the client access to edit, delete, or approve/decline the posts within the Shared Calendar.
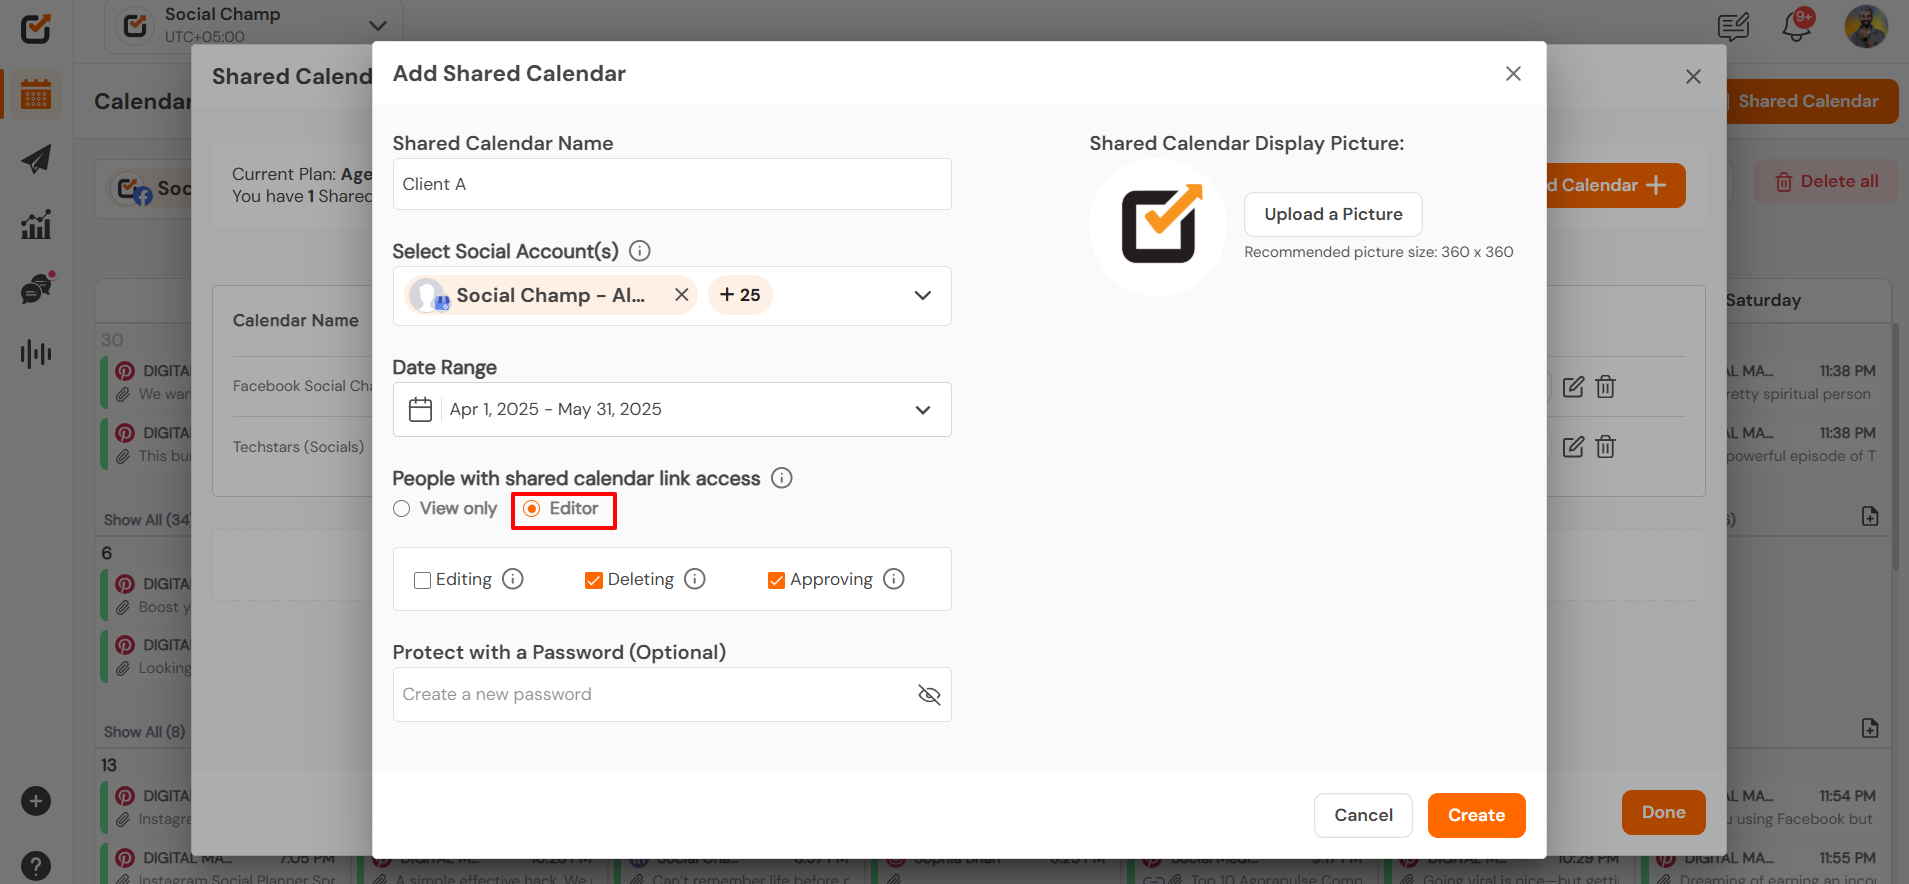
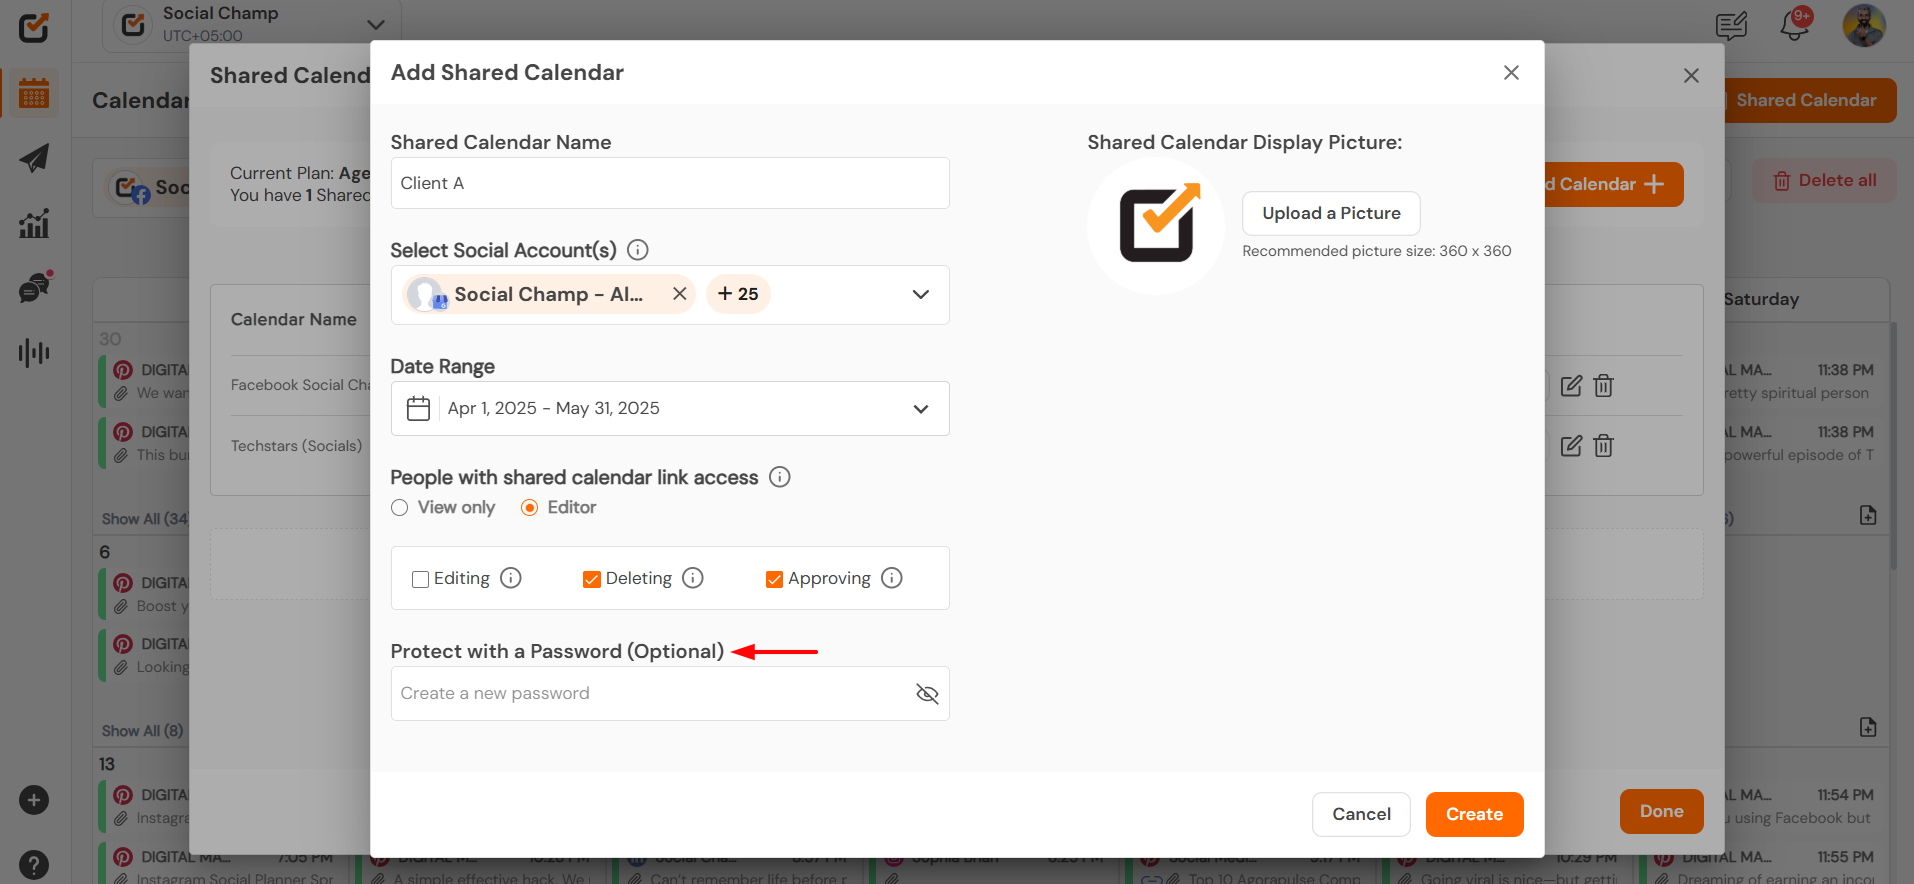
- Password Protection can be enabled (optional) for added security.
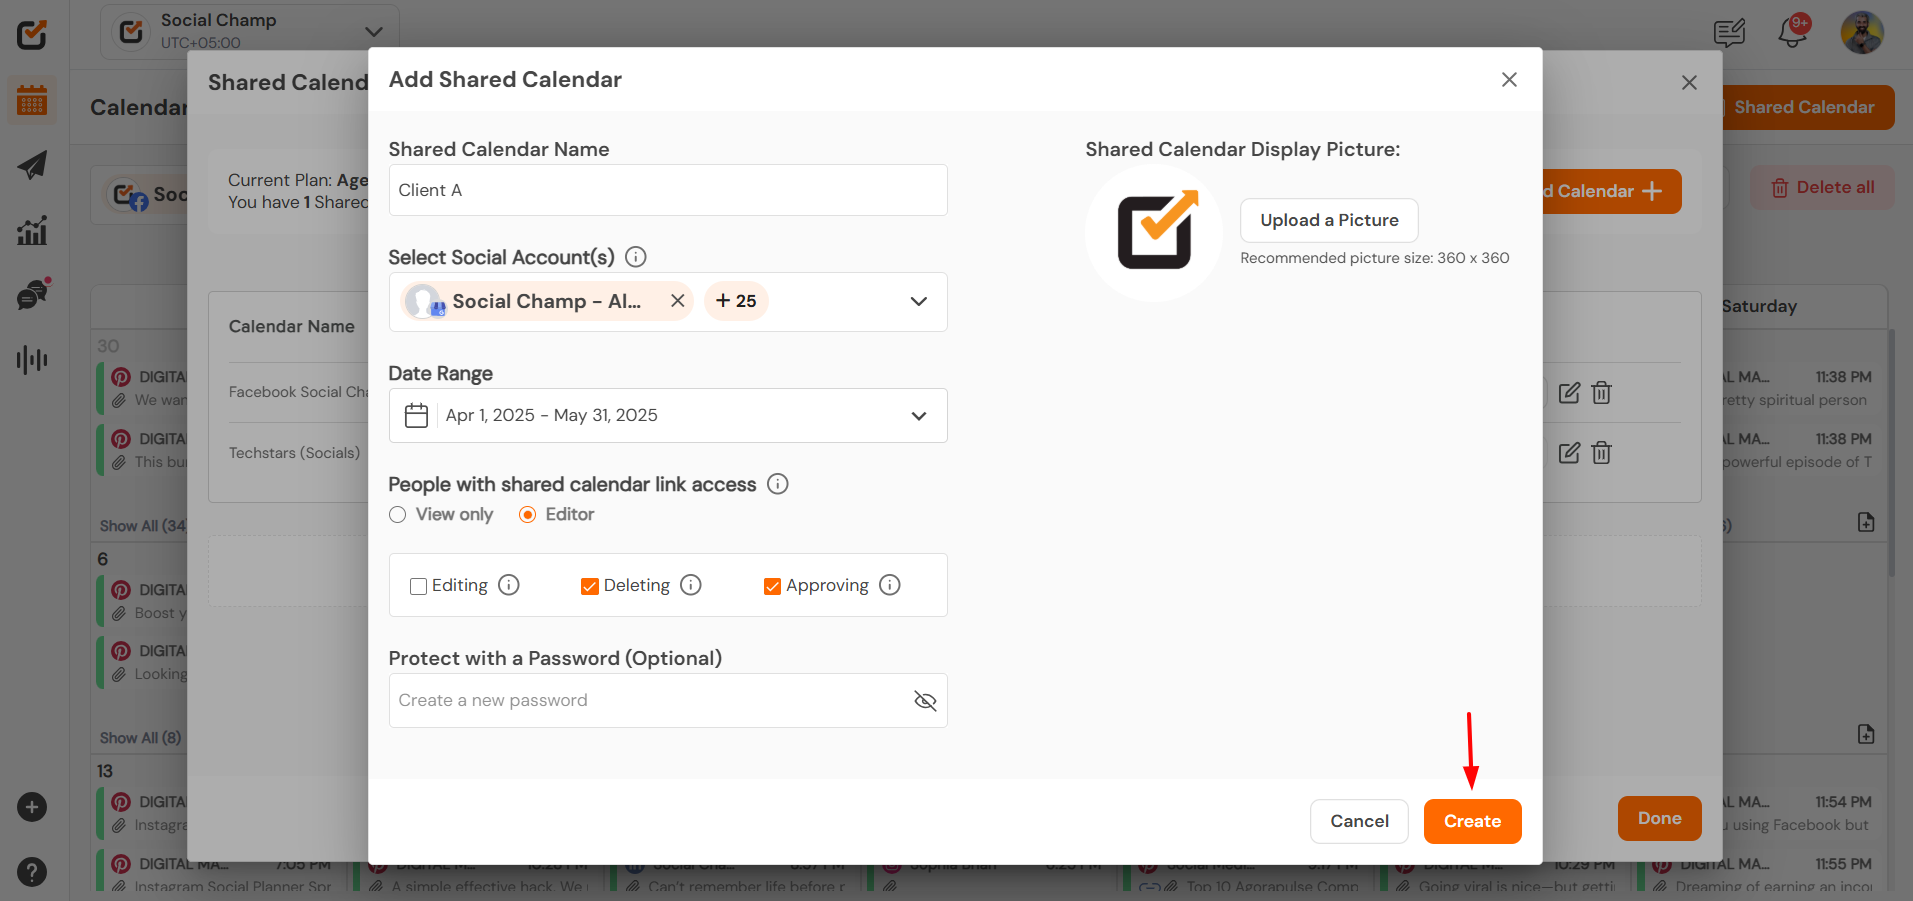
Create Calendar
- After configuring the settings, click ”Create” to finalize.
Sharing the Calendar
- Once the calendar is created, you can generate a shareable link.
- Copy and share the link (and password, if applicable) to team members or clients for access.
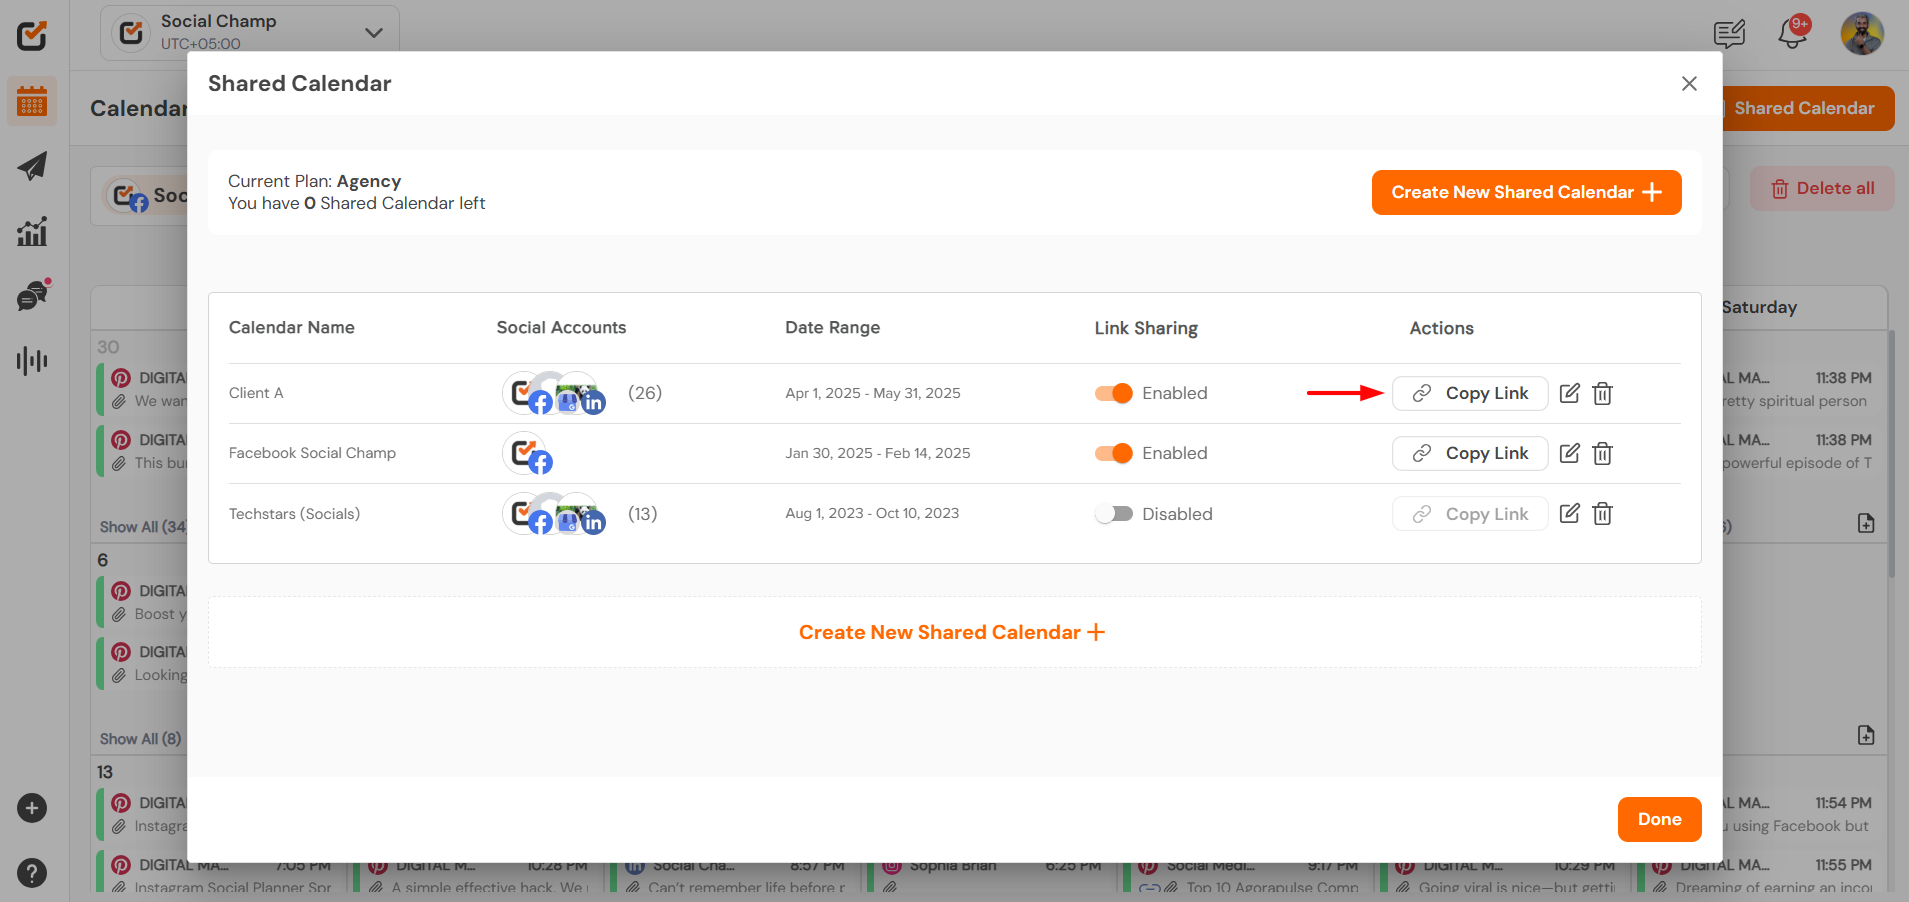
Managing Your Shared Calendar
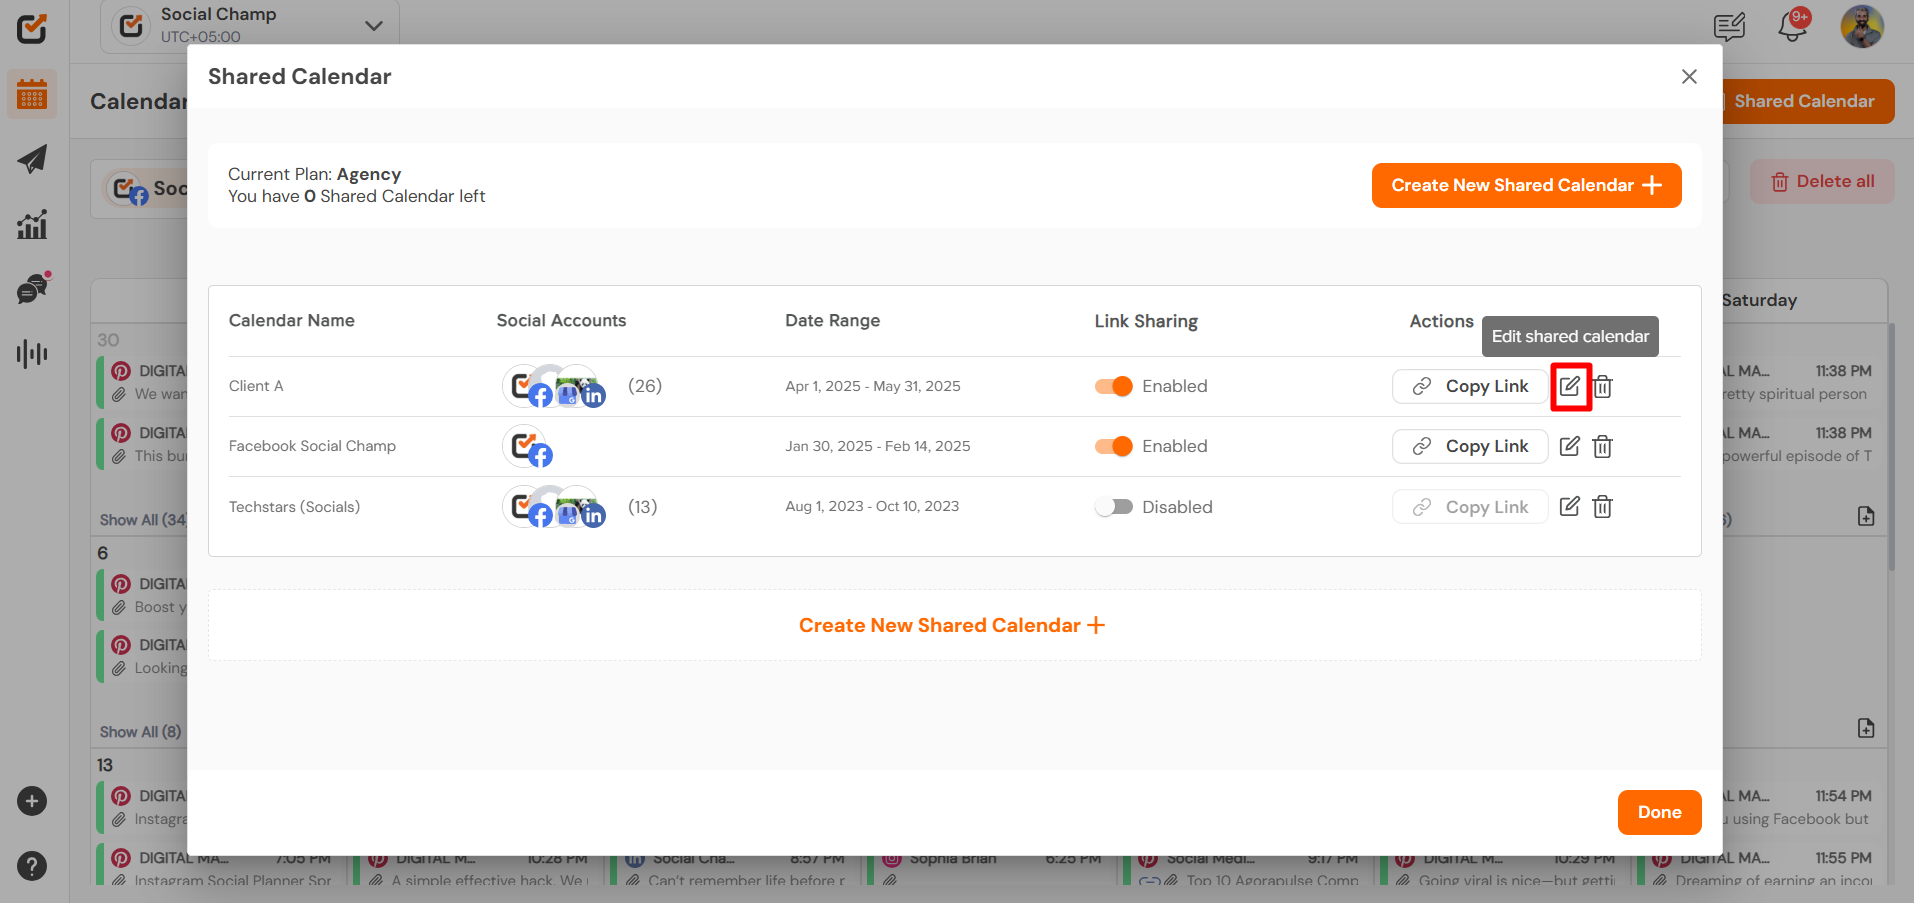
- To make changes, click on the calendar and select Edit.
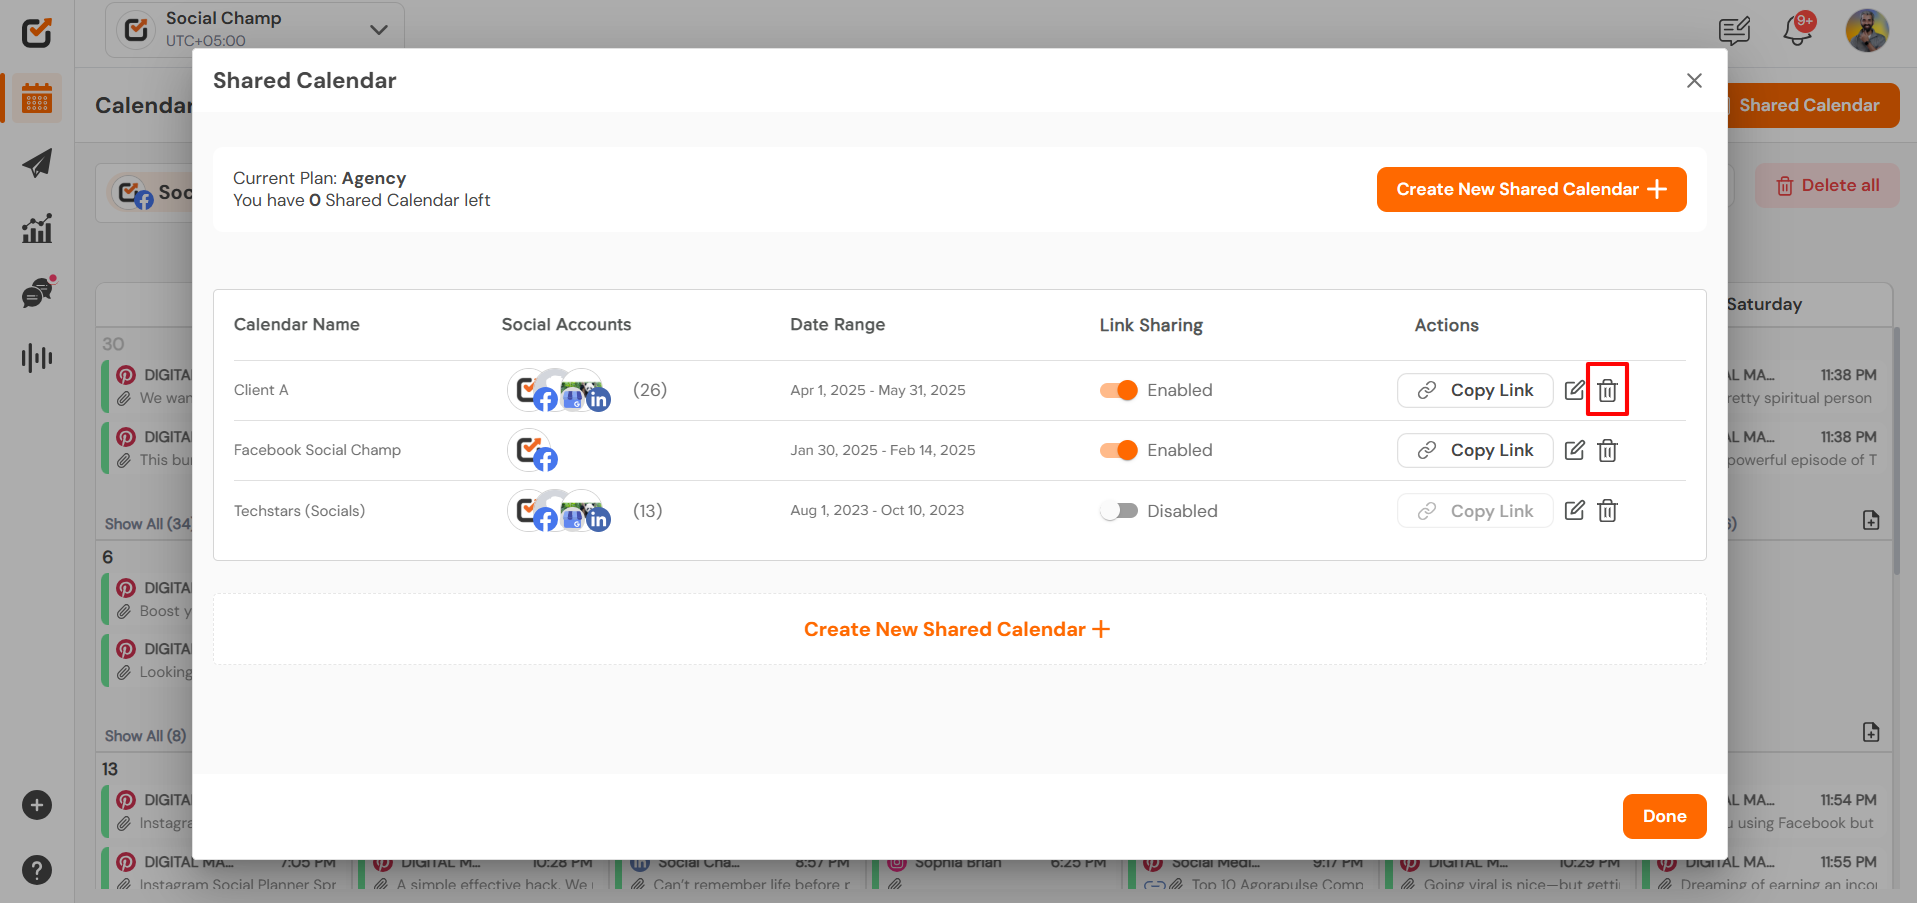
- To remove the calendar, click on the calendar and select Delete.
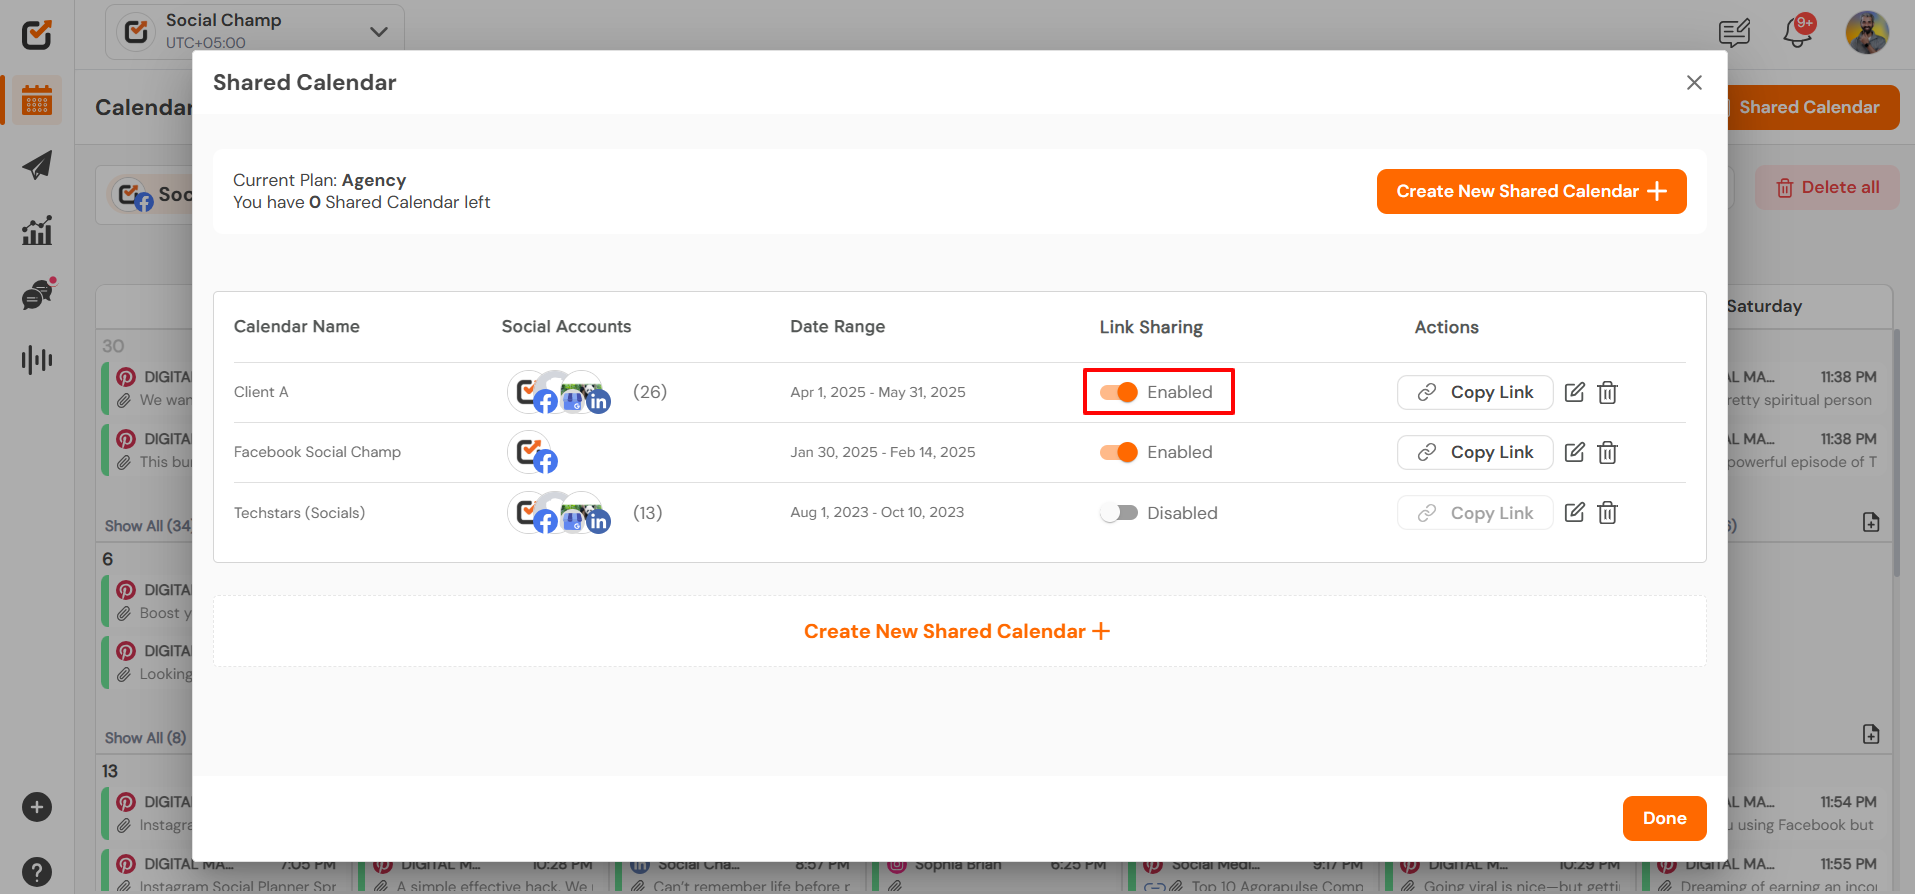
- The Shared Calendar link can be enabled or disabled anytime as per the need.
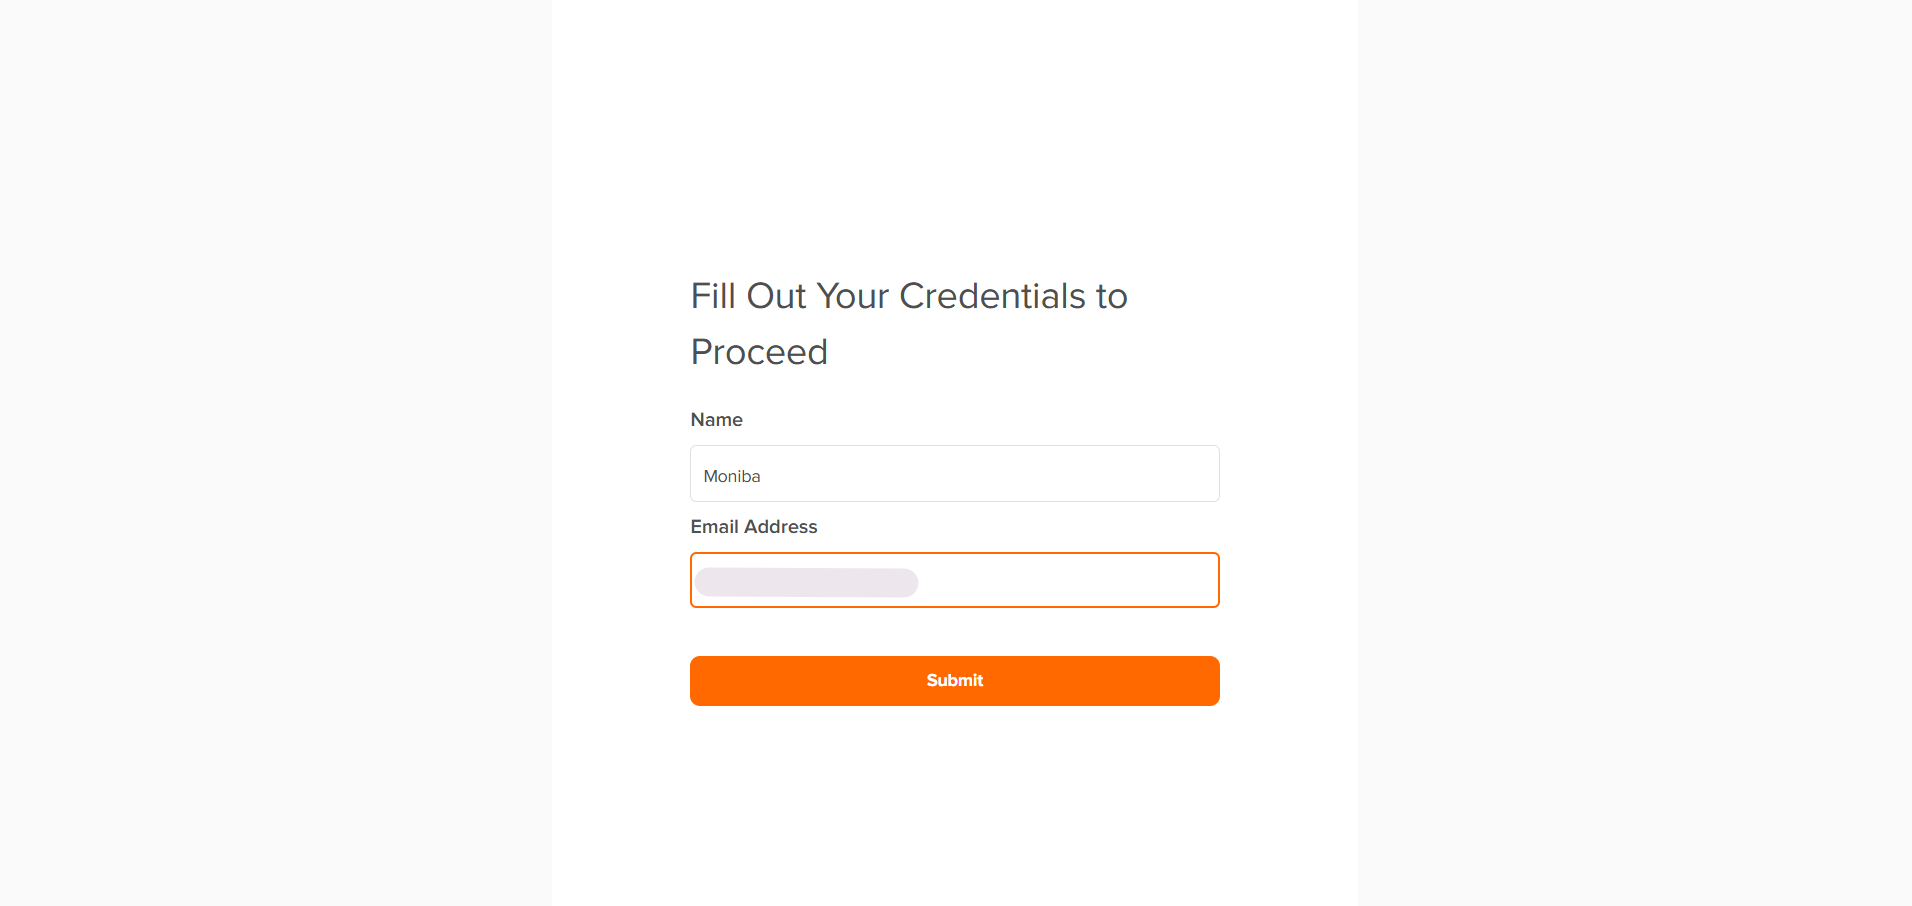
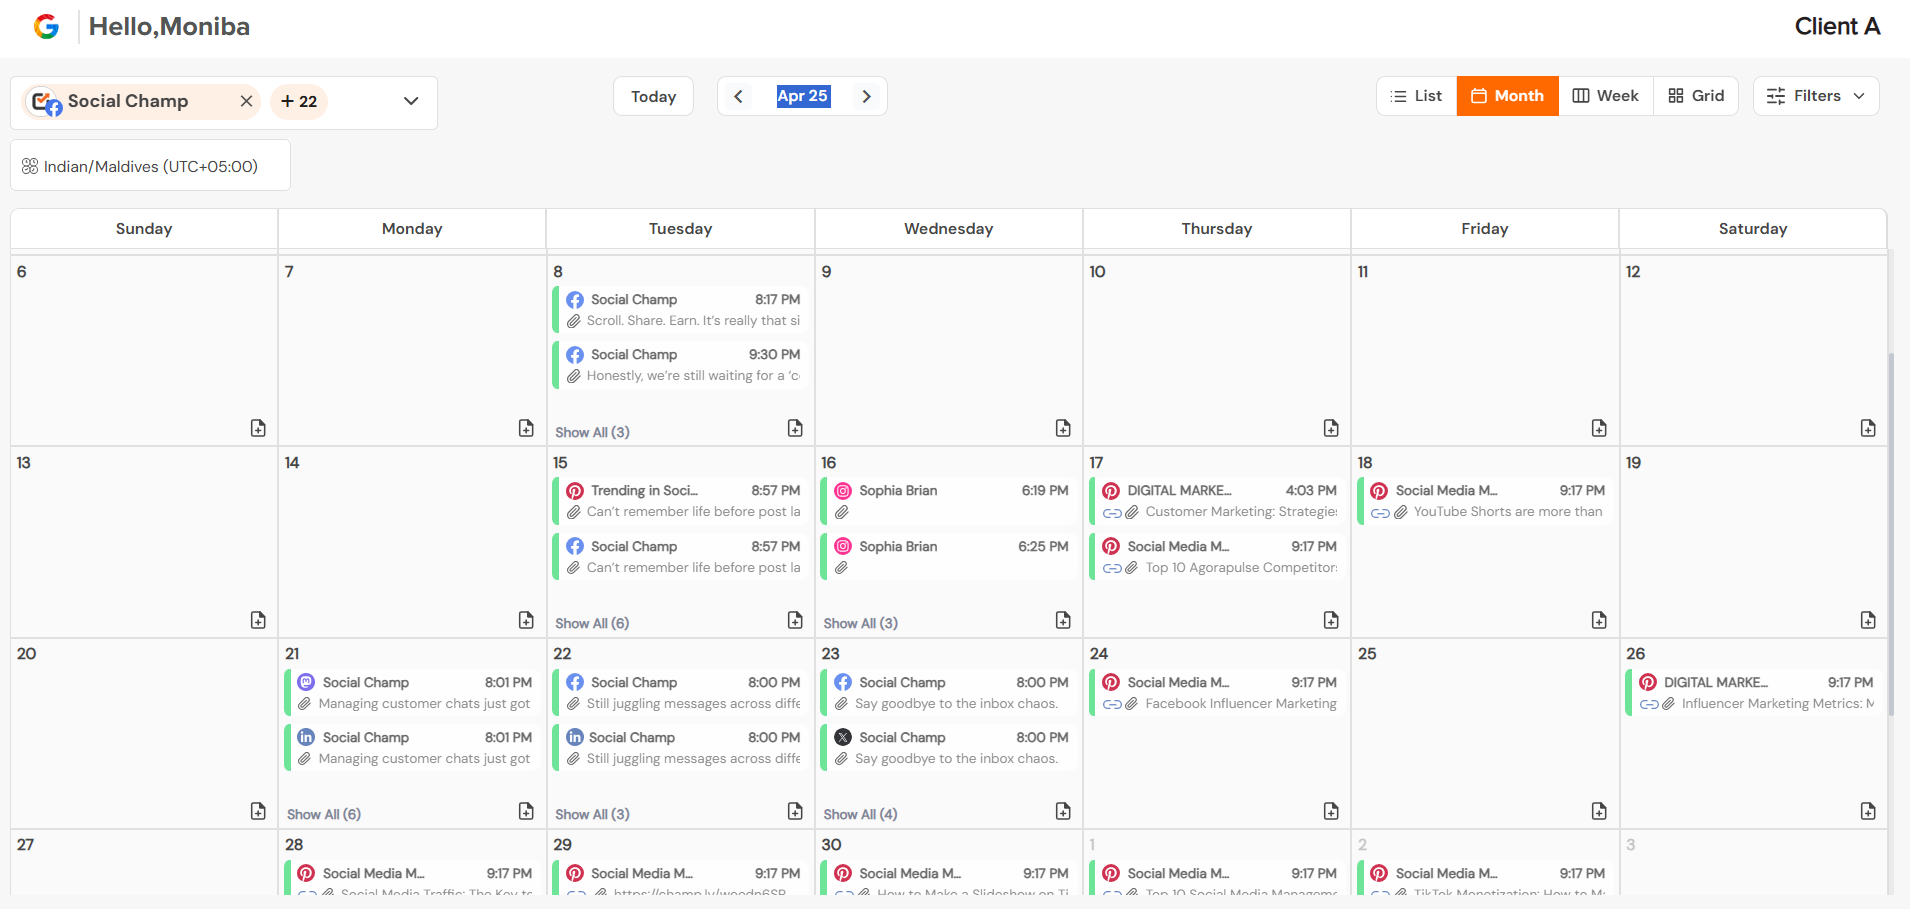
Shared Calendar – View as a Client
- Your client can view/edit all your posts within a particular date range by opening the shared link and entering their name and email address.
Important Notes
- Plan Limitations: The ability to create Shared Calendars is available on Growth and Enterprise plans.
- Permissions: Ensure you set appropriate permissions to control access levels.
- Password Protection: Use password protection for sensitive or client-specific calendars.
Tadaa! You have successfully created your first Shared Calendar within Social Champ. Cross-check how many more Shared Calendars you can create within your plan or upgrade. 😀
Get the Support you need:
Having trouble? Got a question? We’re here to support you every step of the way. Simply email us at Support@socialchamp.io, and we’ll get back to you.
Hey Champs! Social Champ’s Calendar feature allows you to get a bird’s eye view of all your social media scheduling Read more
Hey Champs! After scheduling the content, you can edit your scheduled post from the Calendar/Queue. Let’s get started with a Read more
Introduction Social Champ makes it simple to manage and track your scheduled posts across all your connected social media platforms. Read more
Hey Champs! After scheduling the content, the scheduled posts can be viewed in Calendar/Queue. Let’s get started with how to Read more