Social Champ has an amazing feature, where you can set up the time slots and create ”Queue’’ for posting. This guide covers how you can use the Manage Queue feature in Social Champ to create pre-set weekly posting schedules for the posts.
Let’s get started,
- Log in to your Social Champ account you will land on the Publish Content dashboard.
- Go to Settings from the left-hand panel.
- Click on the Manage Queue tab. You can find the default Timeslots.
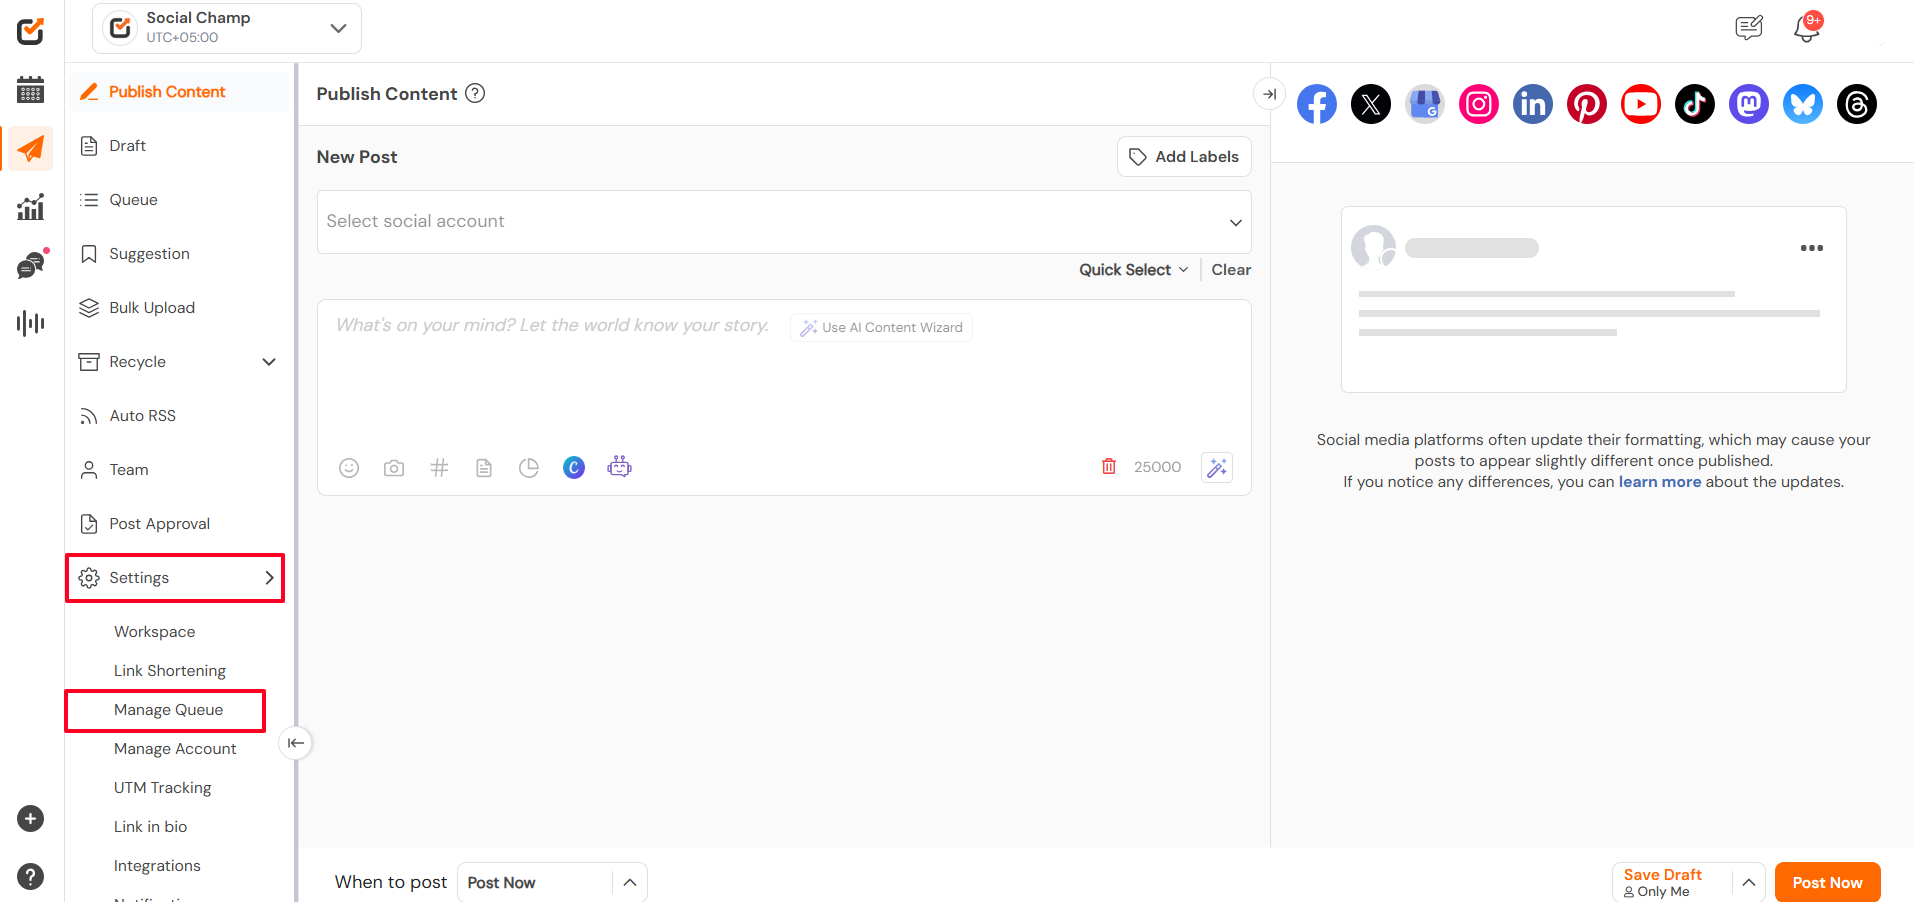

- Click Create Custom Queue to set up a new queue schedule for a social media account.

- Select the social accounts you want to create the custom queue for.

- Click on ”Add Timeslots”.
– Set up the time slots and the days to define posting times.
– You can also set multiple time slots for each day of the week.
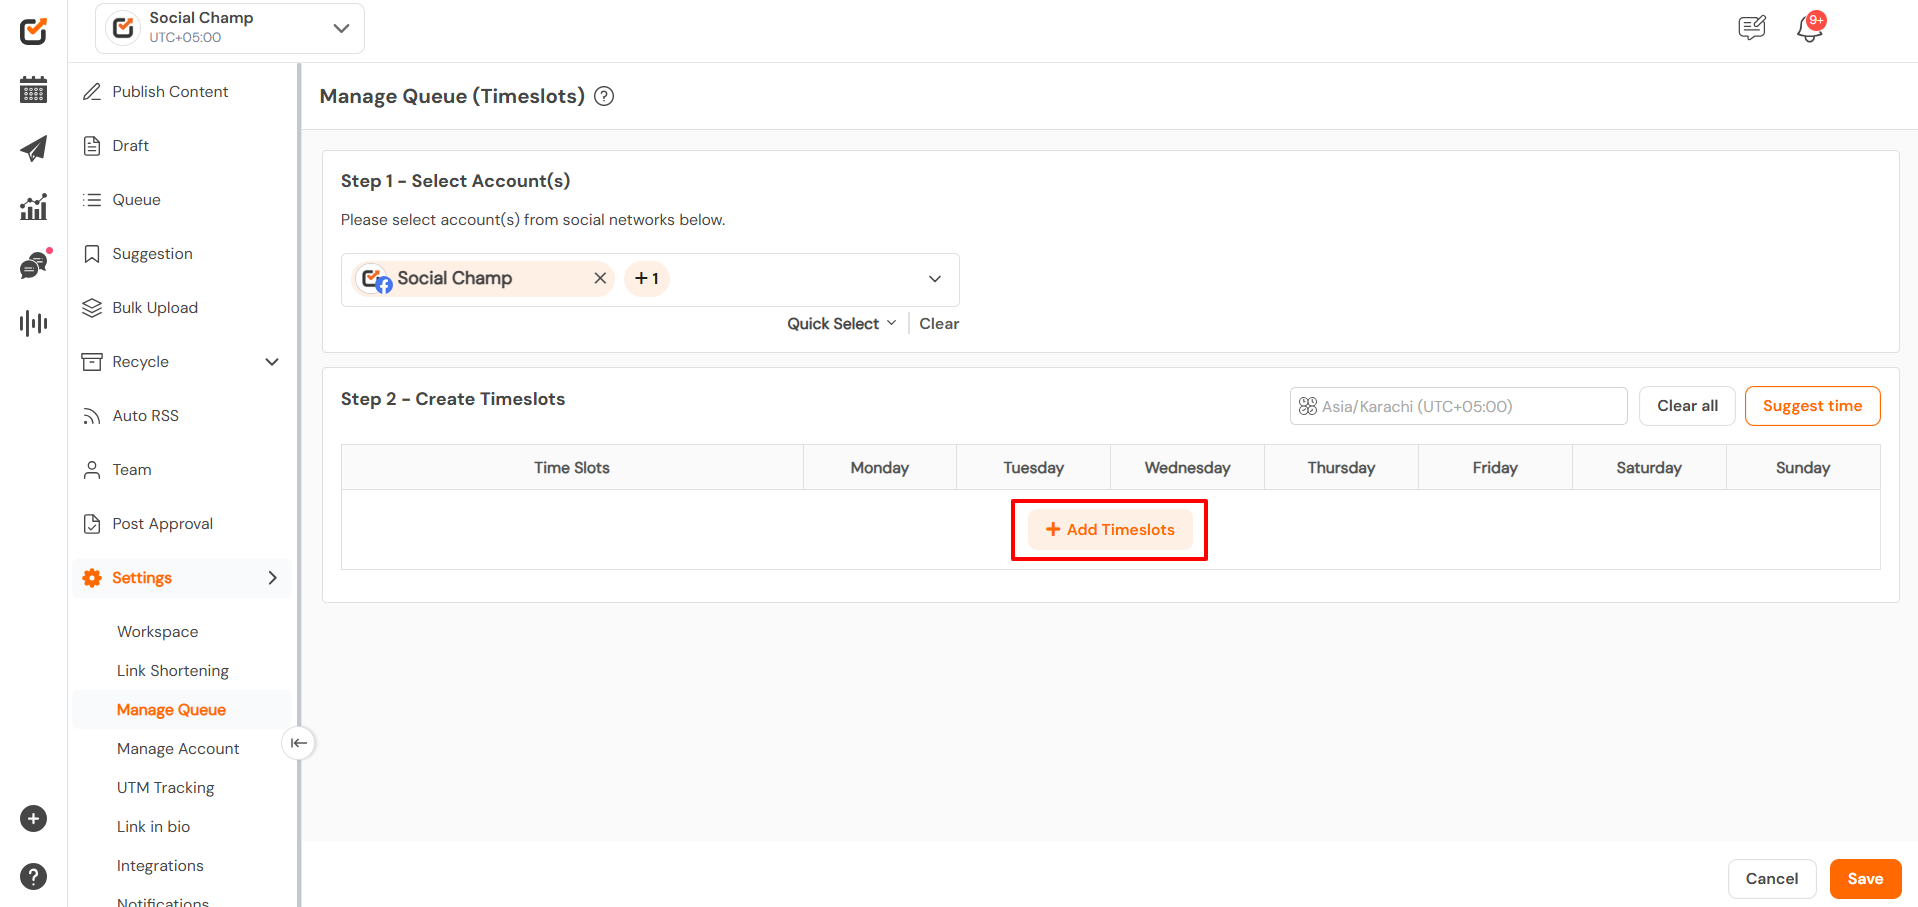

- Once done, click Save to activate your queue.

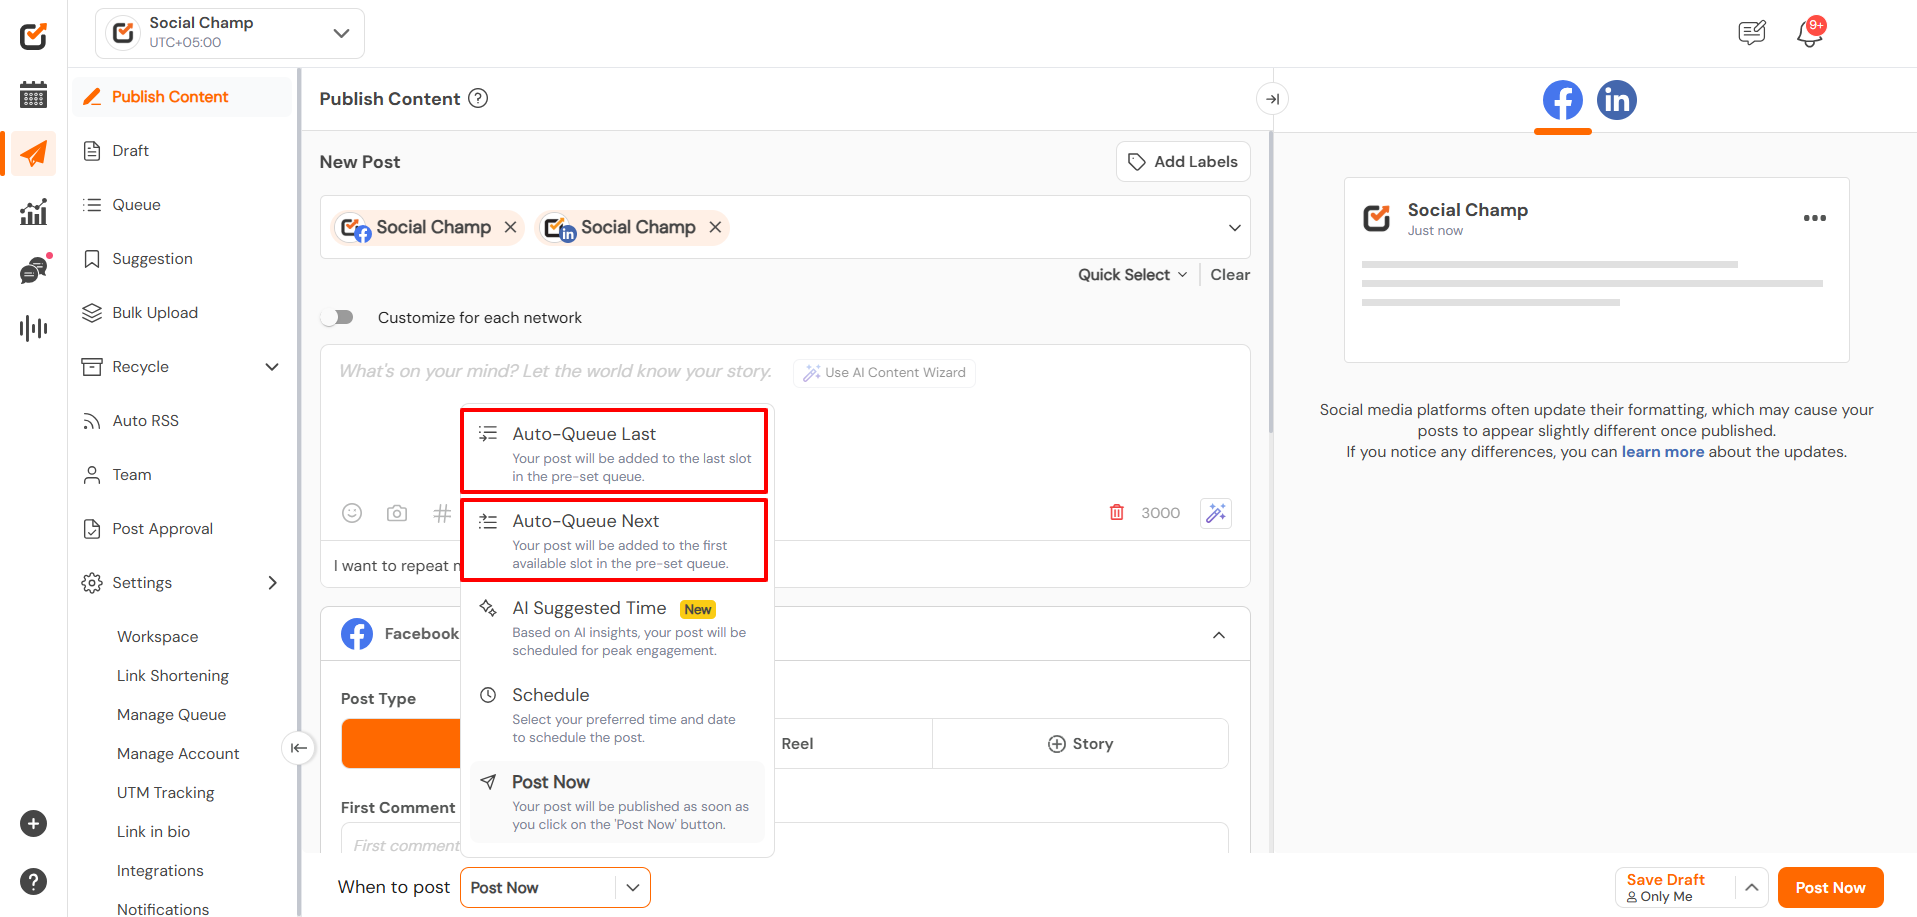
When scheduling a post, you have multiple posting options. Choose Auto-Queue Next or Auto-Queue Last to follow the preset Queue.
Auto Queue Last: Add your post to the First available slot in the preset queue.
Auto Queue Next: Add your post to the first slot in the preset queue.
Great work! Now you know how to set up and manage the Queue in your Social Champ account and schedule posts without manually adding dates and times.
Get the Support you need:
Having trouble? Got a question? We’re here to support you every step of the way. Simply email us at support@socialchamp.io, and we’ll get back to you.
Still confused? Check out this video tutorial on Manage Queue.
Check out FAQs here